
Assembly
Follow the photos to build a machine that makes amazing drawings all by itself.
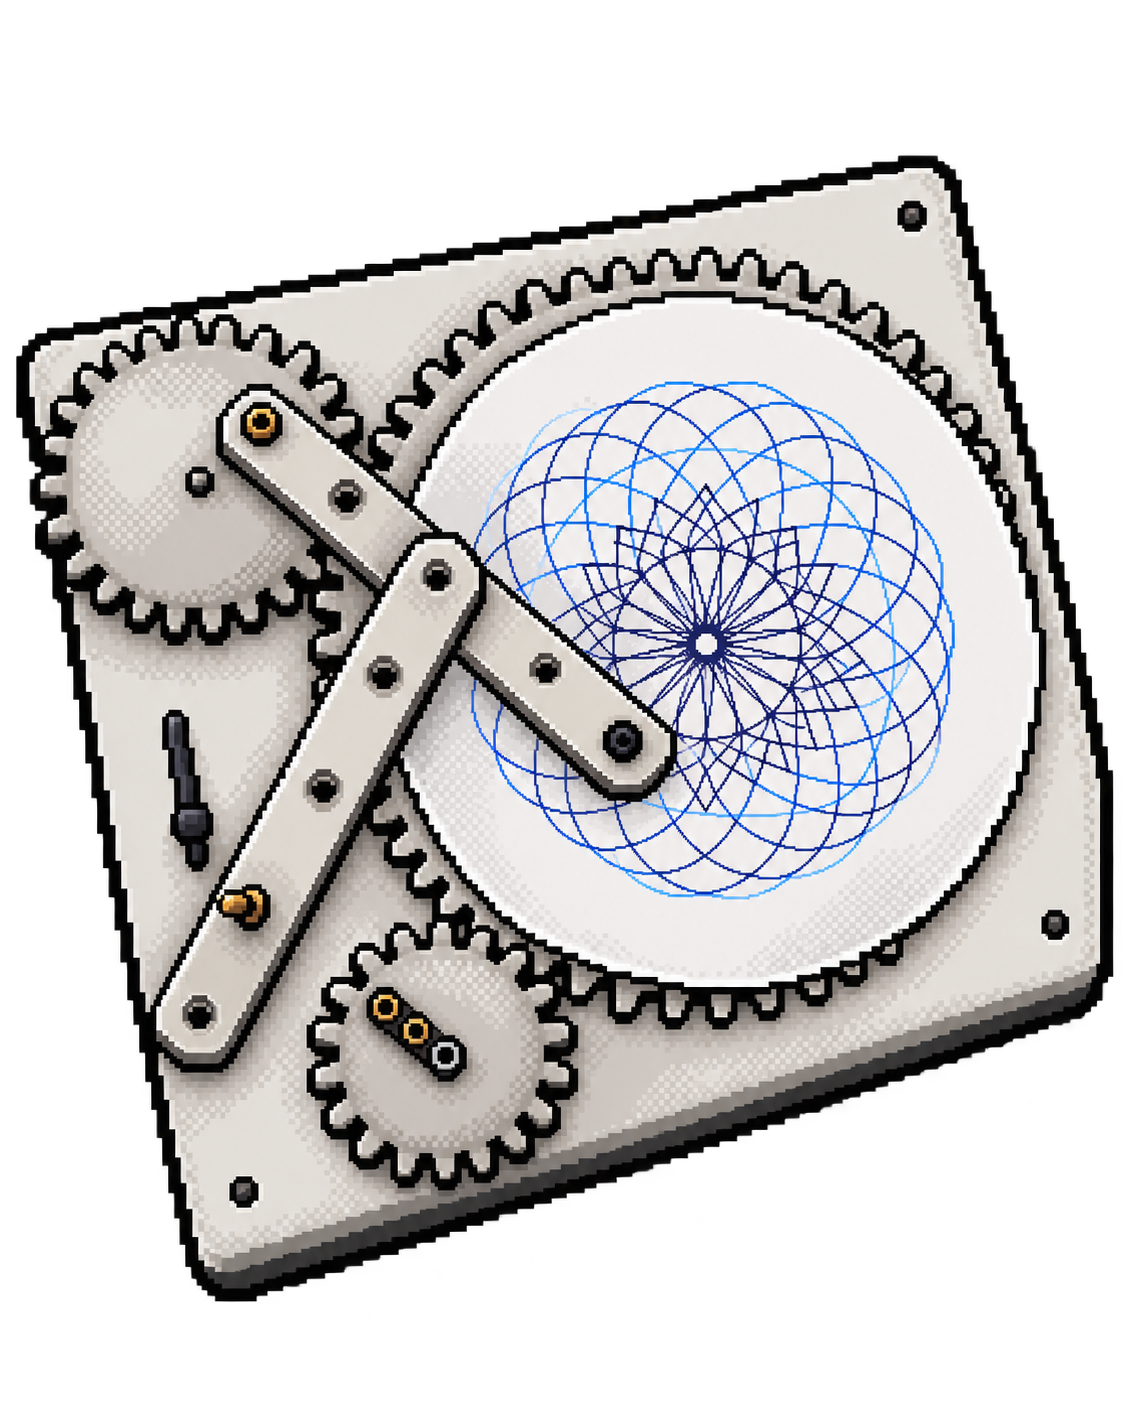
Build a drawing machine
- Step 1 of 18
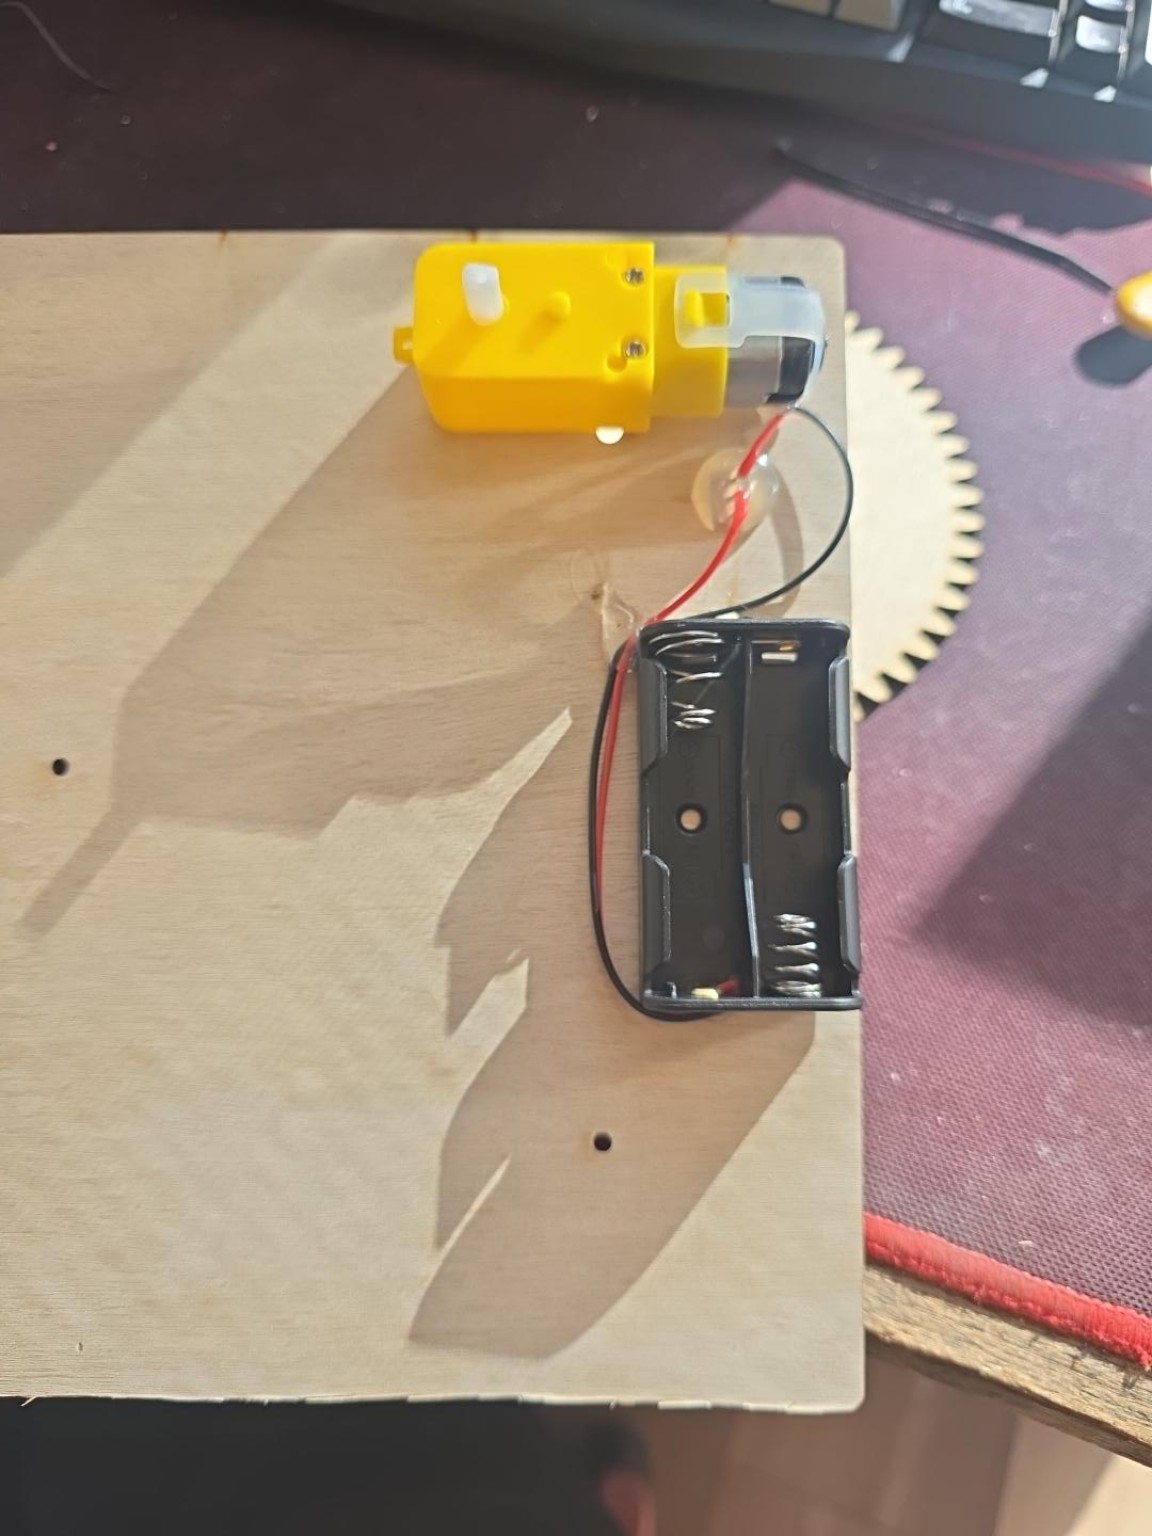
Put in the batteries
Part 1 / Wake up the gears Put two AA batteries in the holder, matching the + and − marks. Keep the switch OFF.
- Step 2 of 18
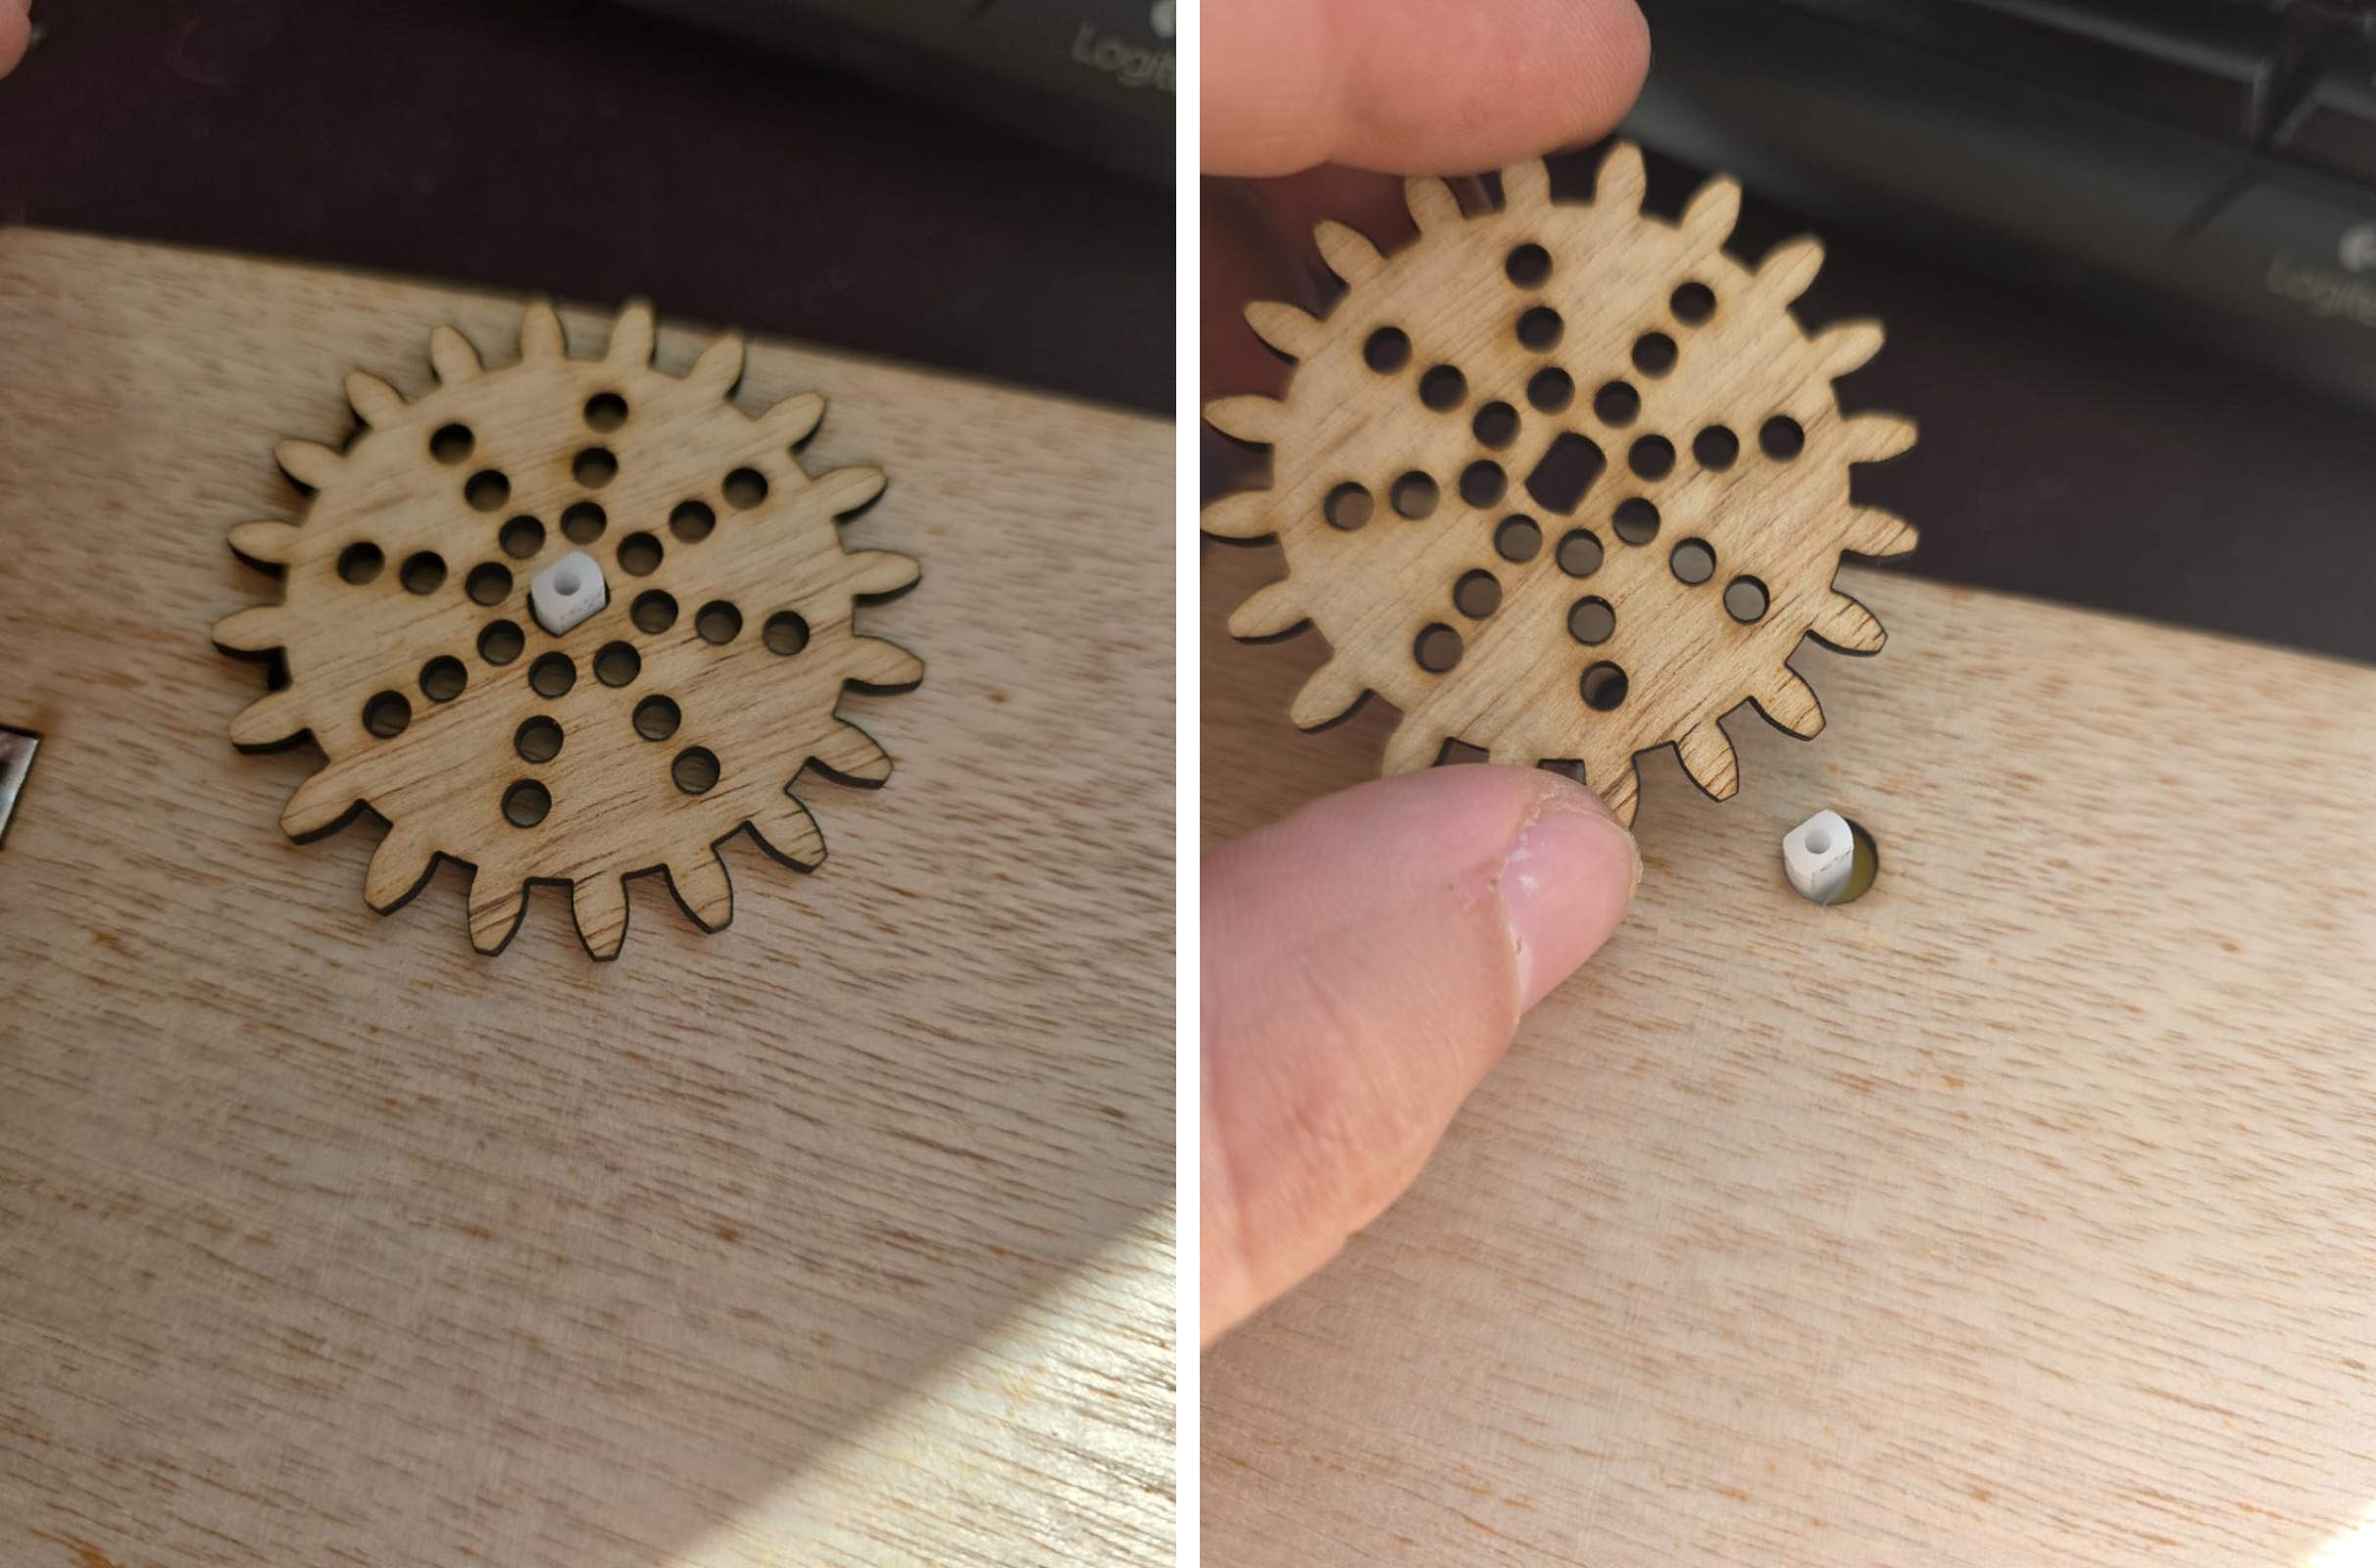
Add the motor gear
Push the small gear onto the motor shaft. Match the shape of the hole and press gently.
- Step 3 of 18
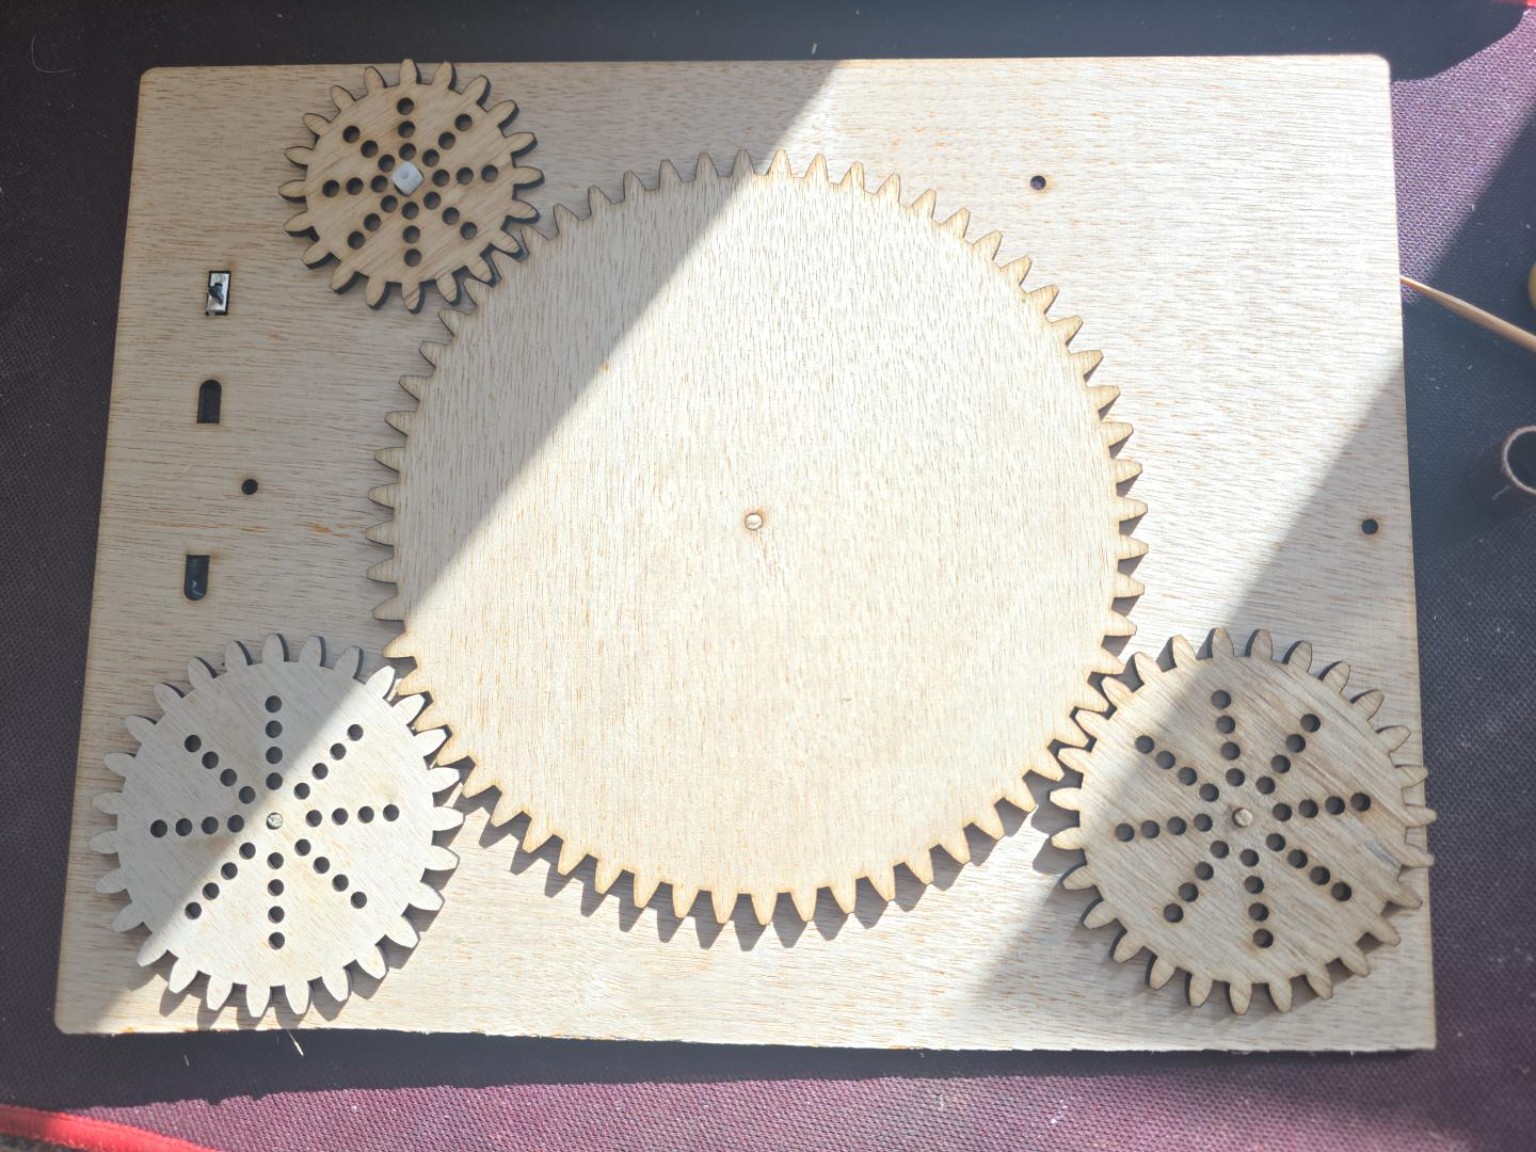
Add the other gears
Place the biggest gear in the middle and the two other gears on their axles. Check that all the teeth meet.
- Step 4 of 18
Test the gears
Switch ON for a moment. Do all four gears turn? Switch OFF again.
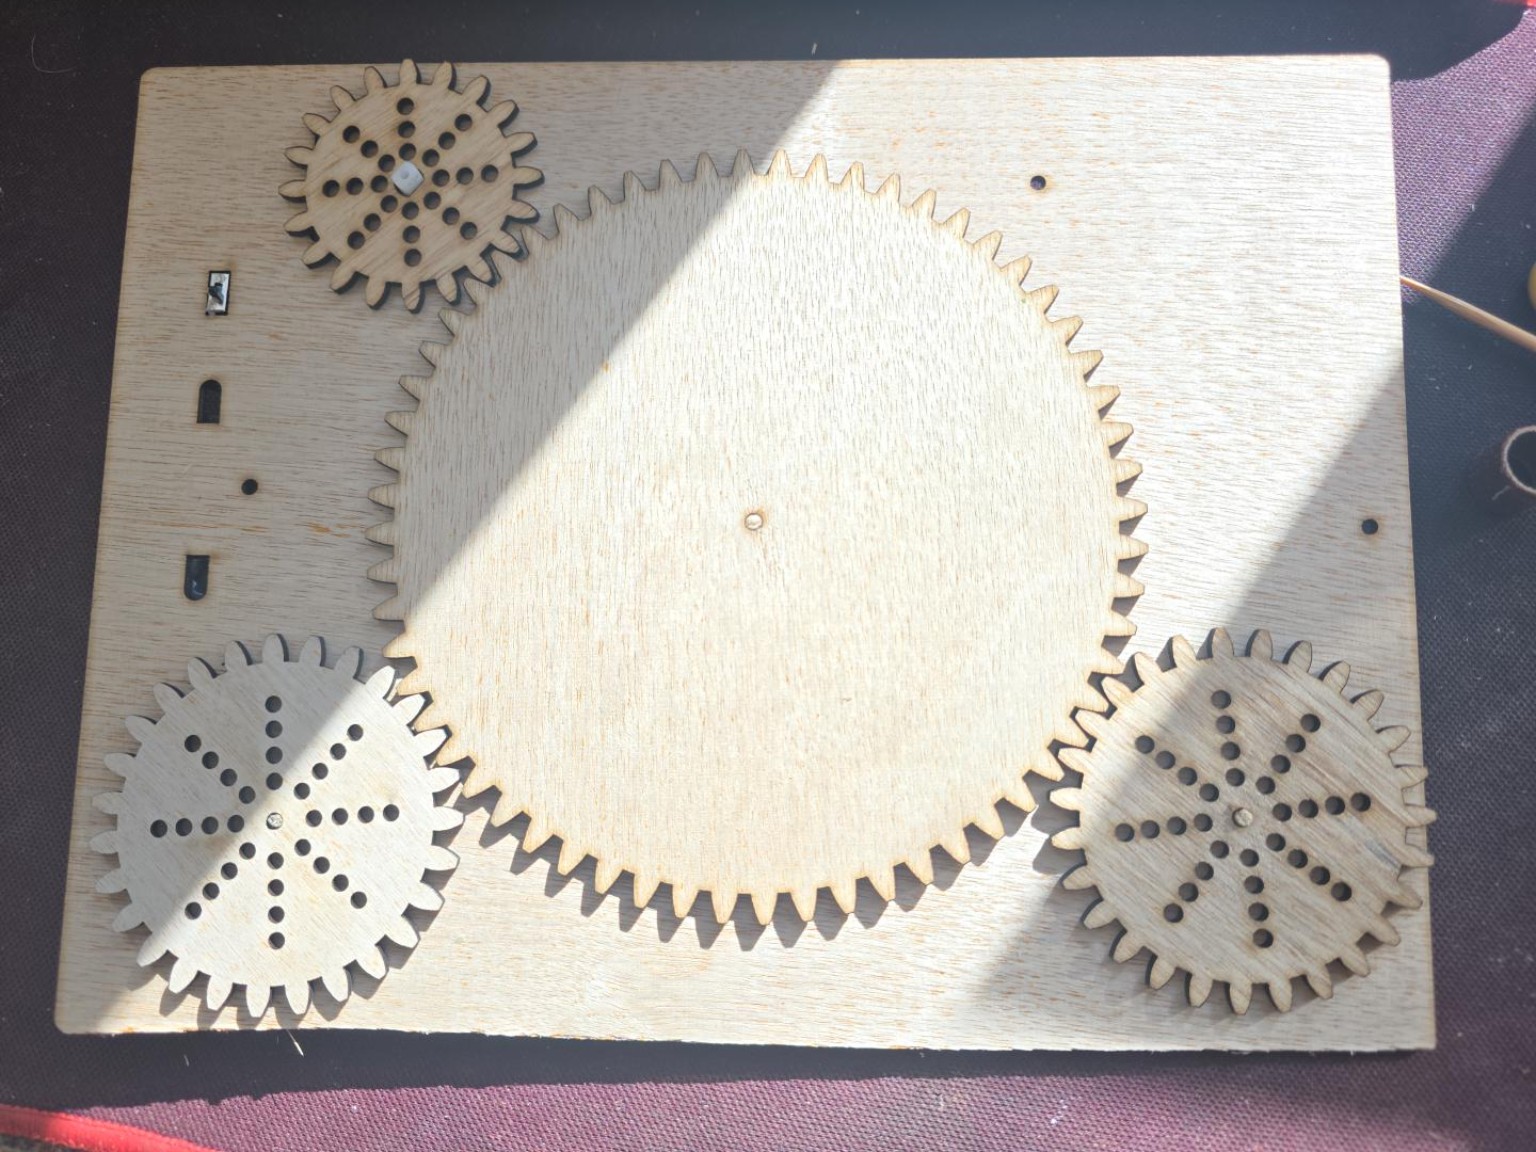
- Step 5 of 18
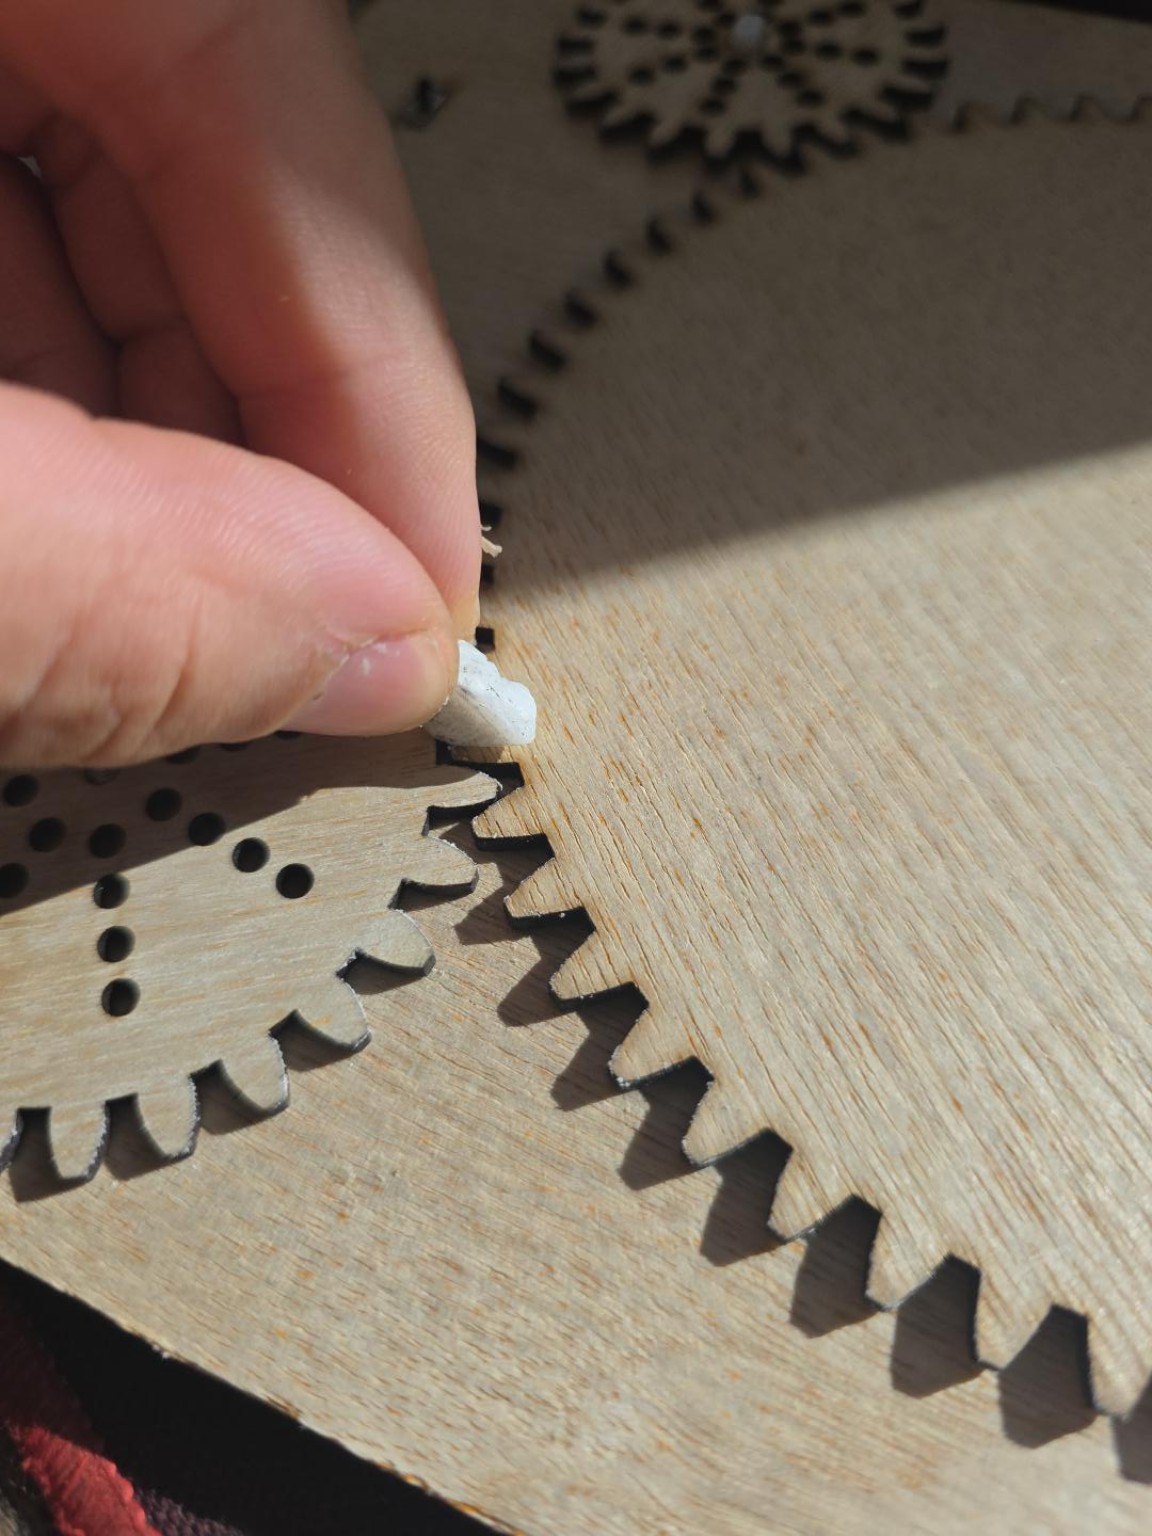
Help the gears glide
With an adult helping, gently rub a little dry soap where the spinning gear teeth meet. Keep fingers clear.
- Step 6 of 18
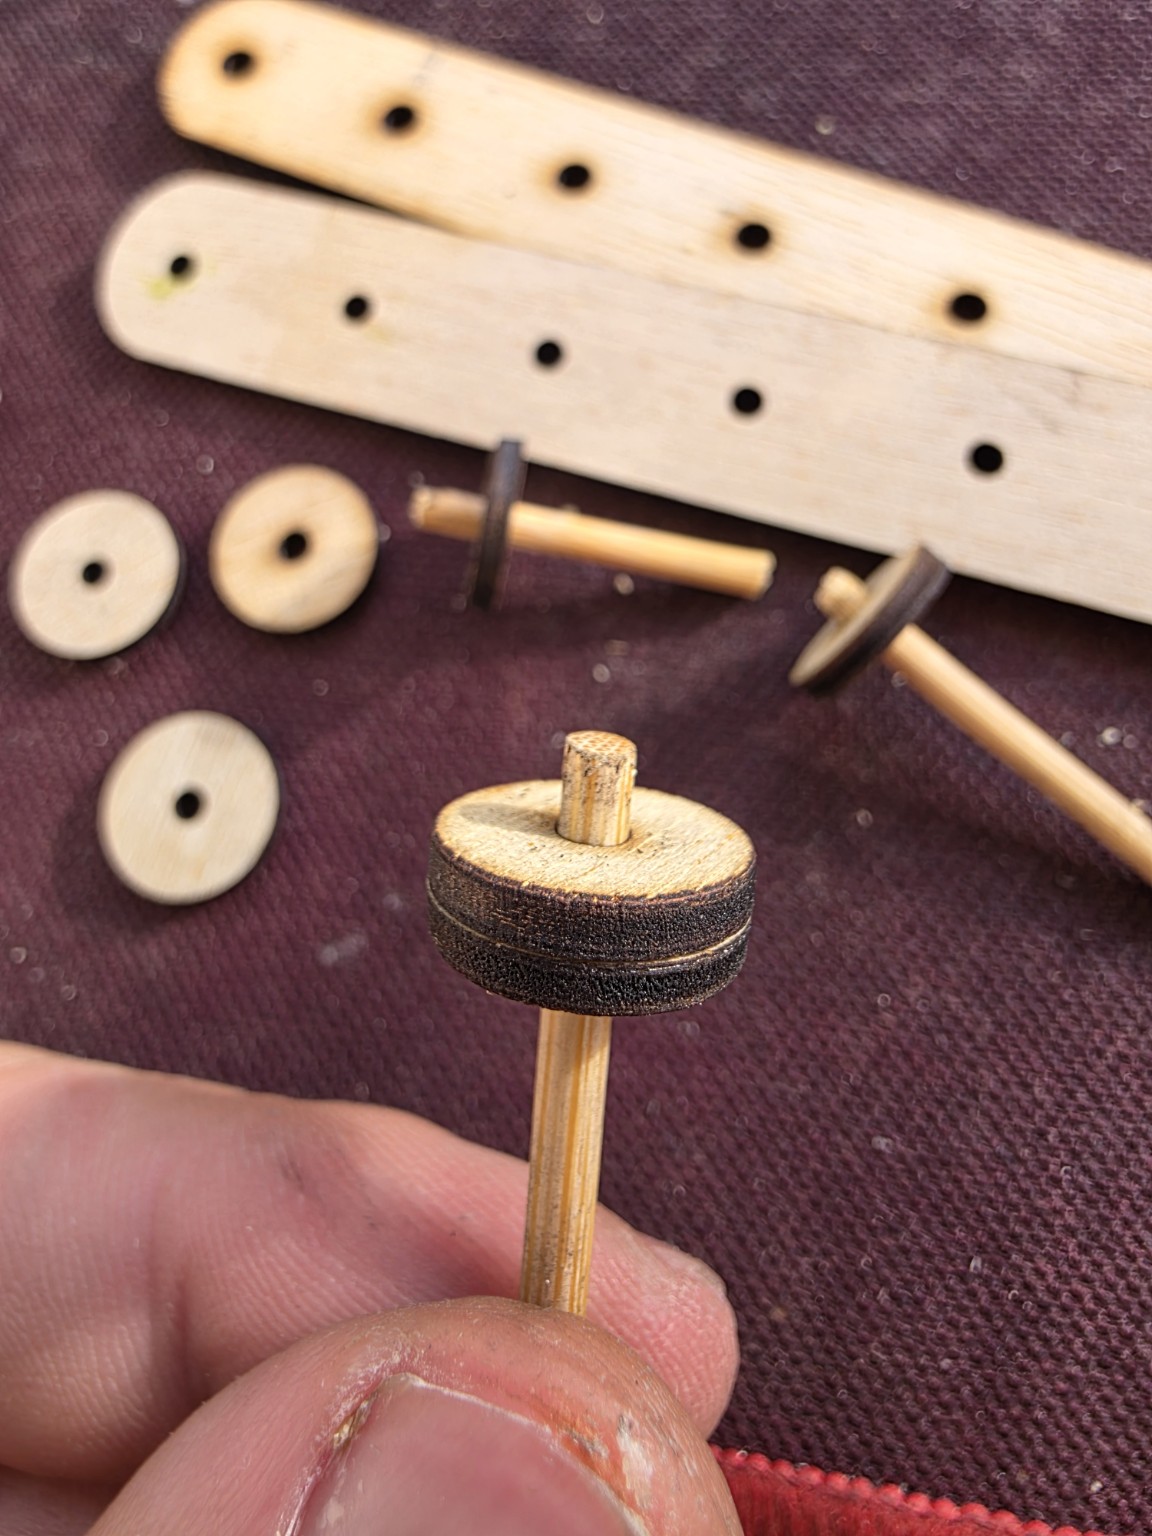
Prepare three bamboo sticks
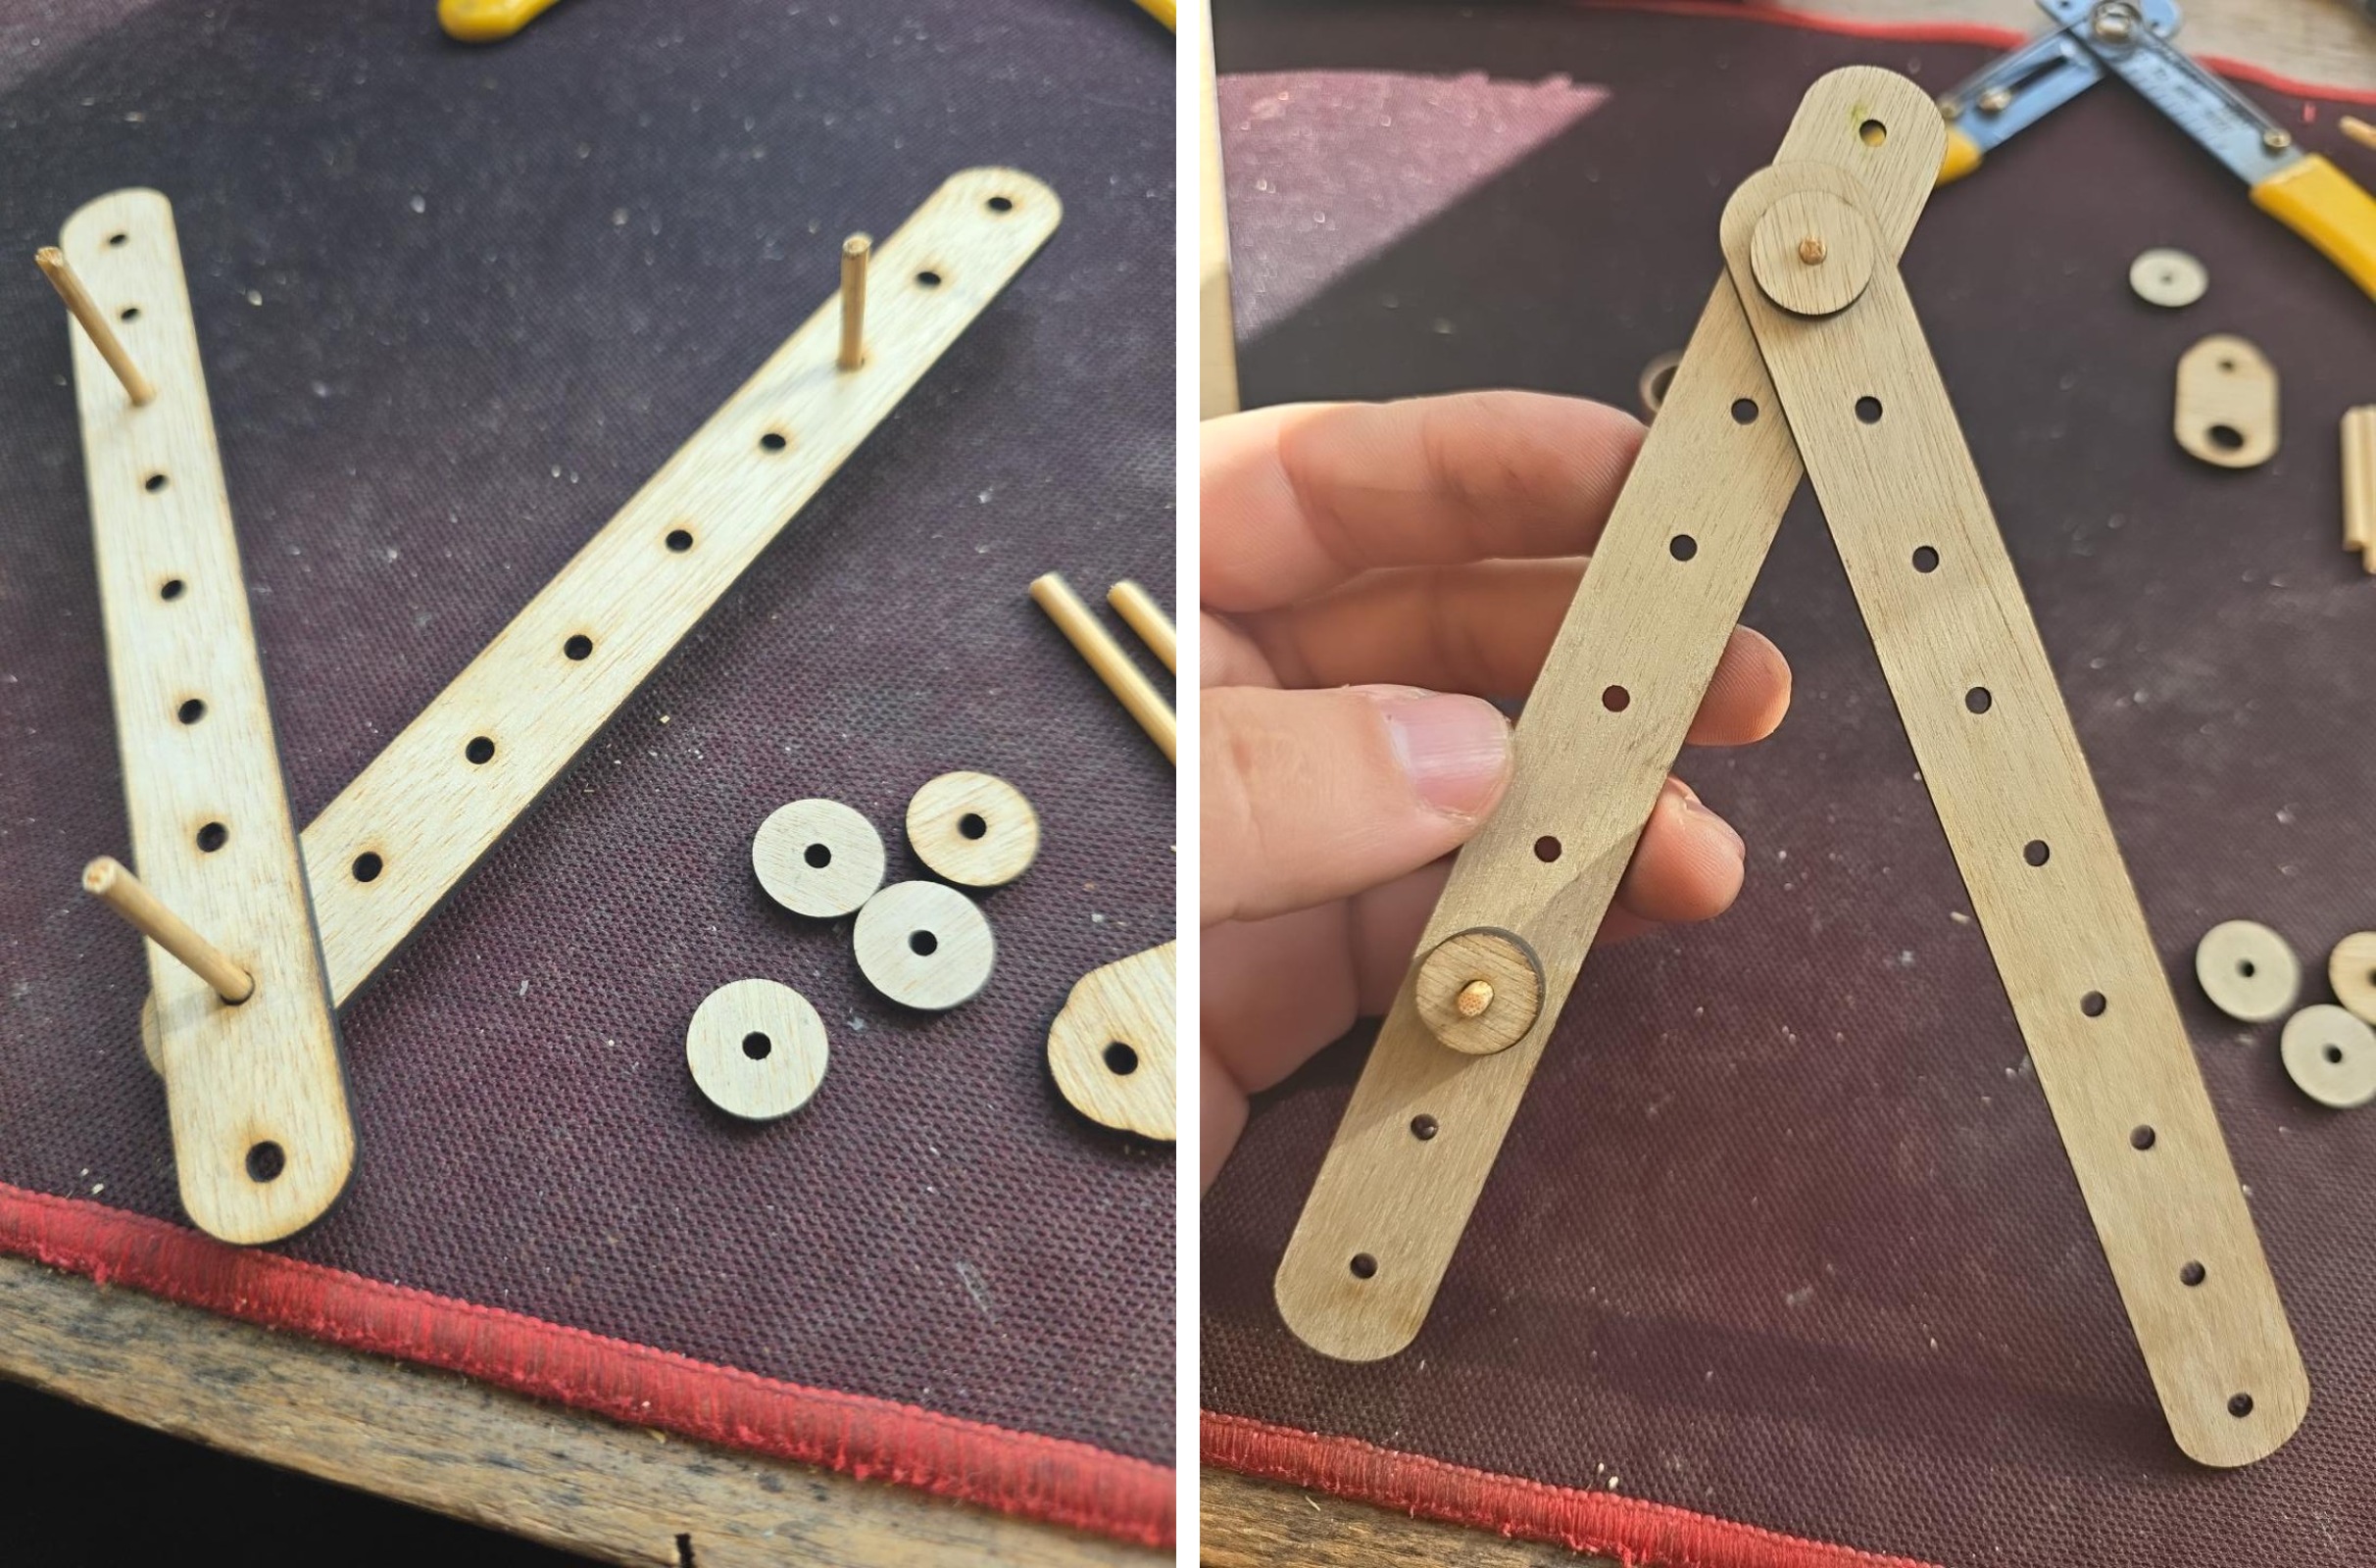
Part 2 / Build the moving arms Use three 40 mm sticks. Put ONE collar on the bottom of sticks A and C. Put TWO collars on stick B. Leave the other ends free.
- Step 7 of 18
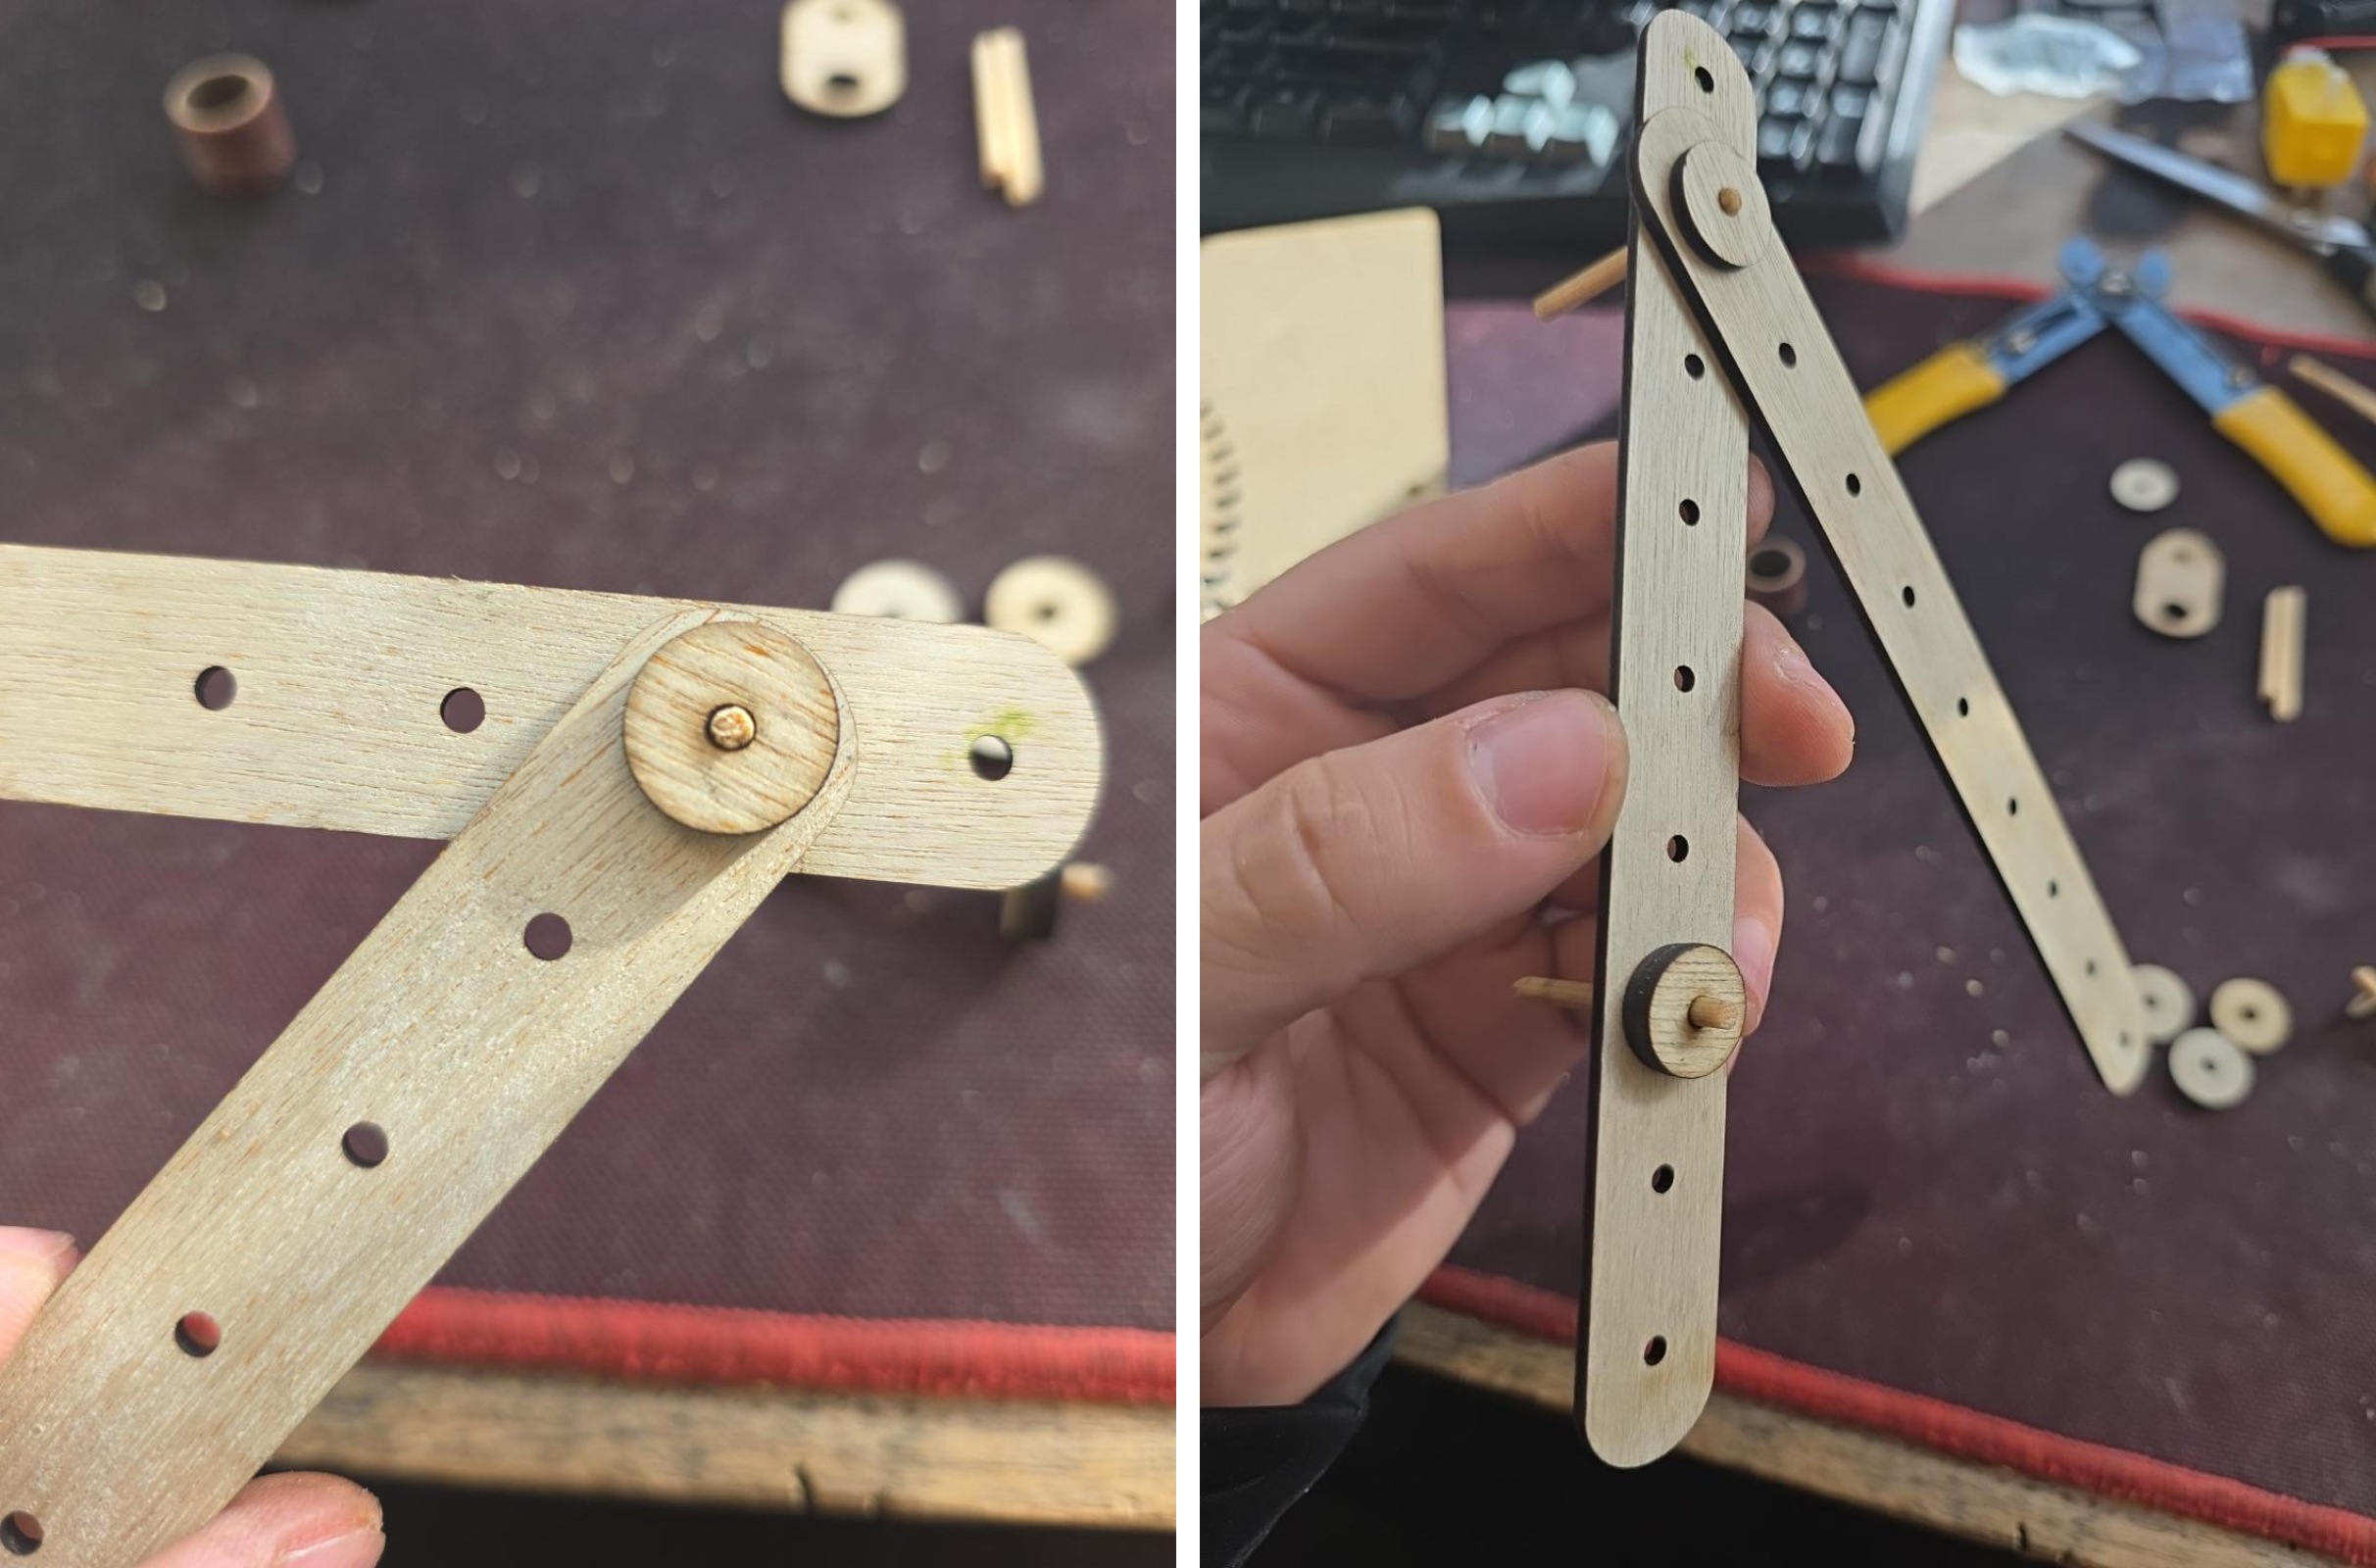
Join the two arms
Pass stick A through the last hole of one arm and the second-to-last hole of the other. Its collar stays underneath.
- Step 8 of 18
Make a V shape
Turn the arms with sticks pointing up. Put stick B in the third hole from the far end of the upper arm, and stick C in the third hole from the far end of the other arm.
- Step 9 of 18
Check the stick heights
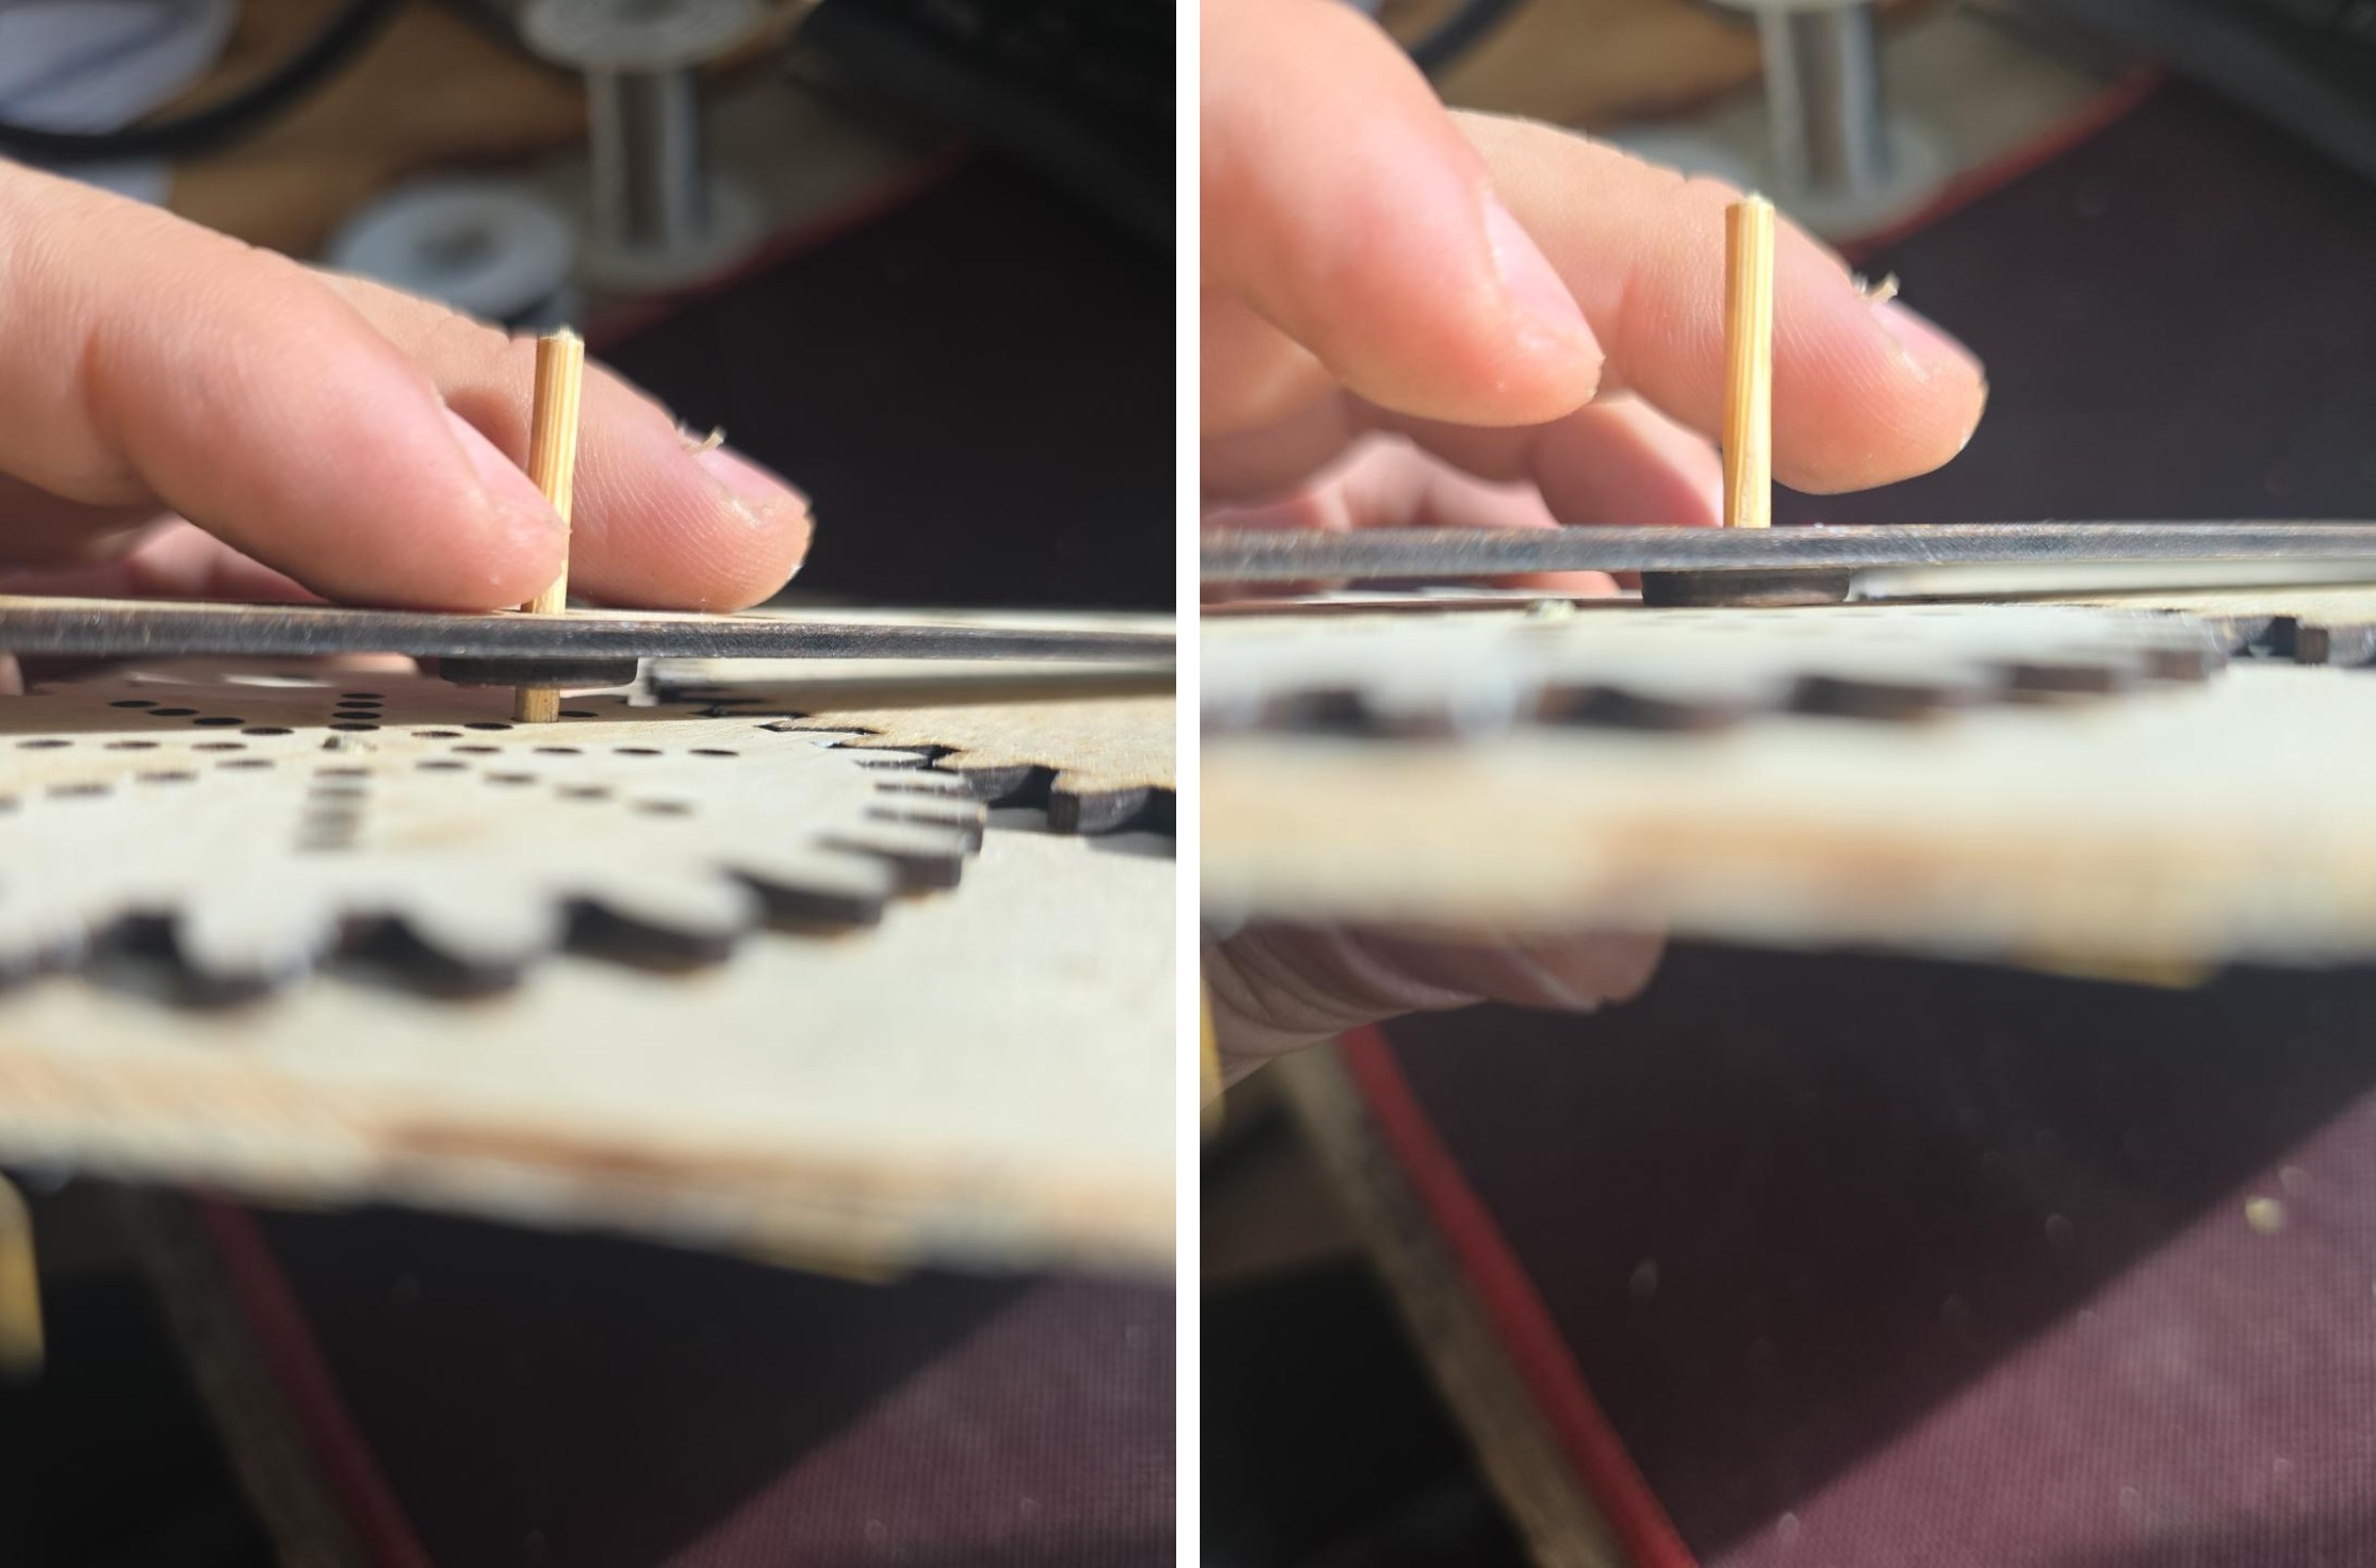
Part 3 / Make everything fit The center joint stick must be flush underneath its collar. The two outer sticks should protrude a little below their collars.
- Step 10 of 18
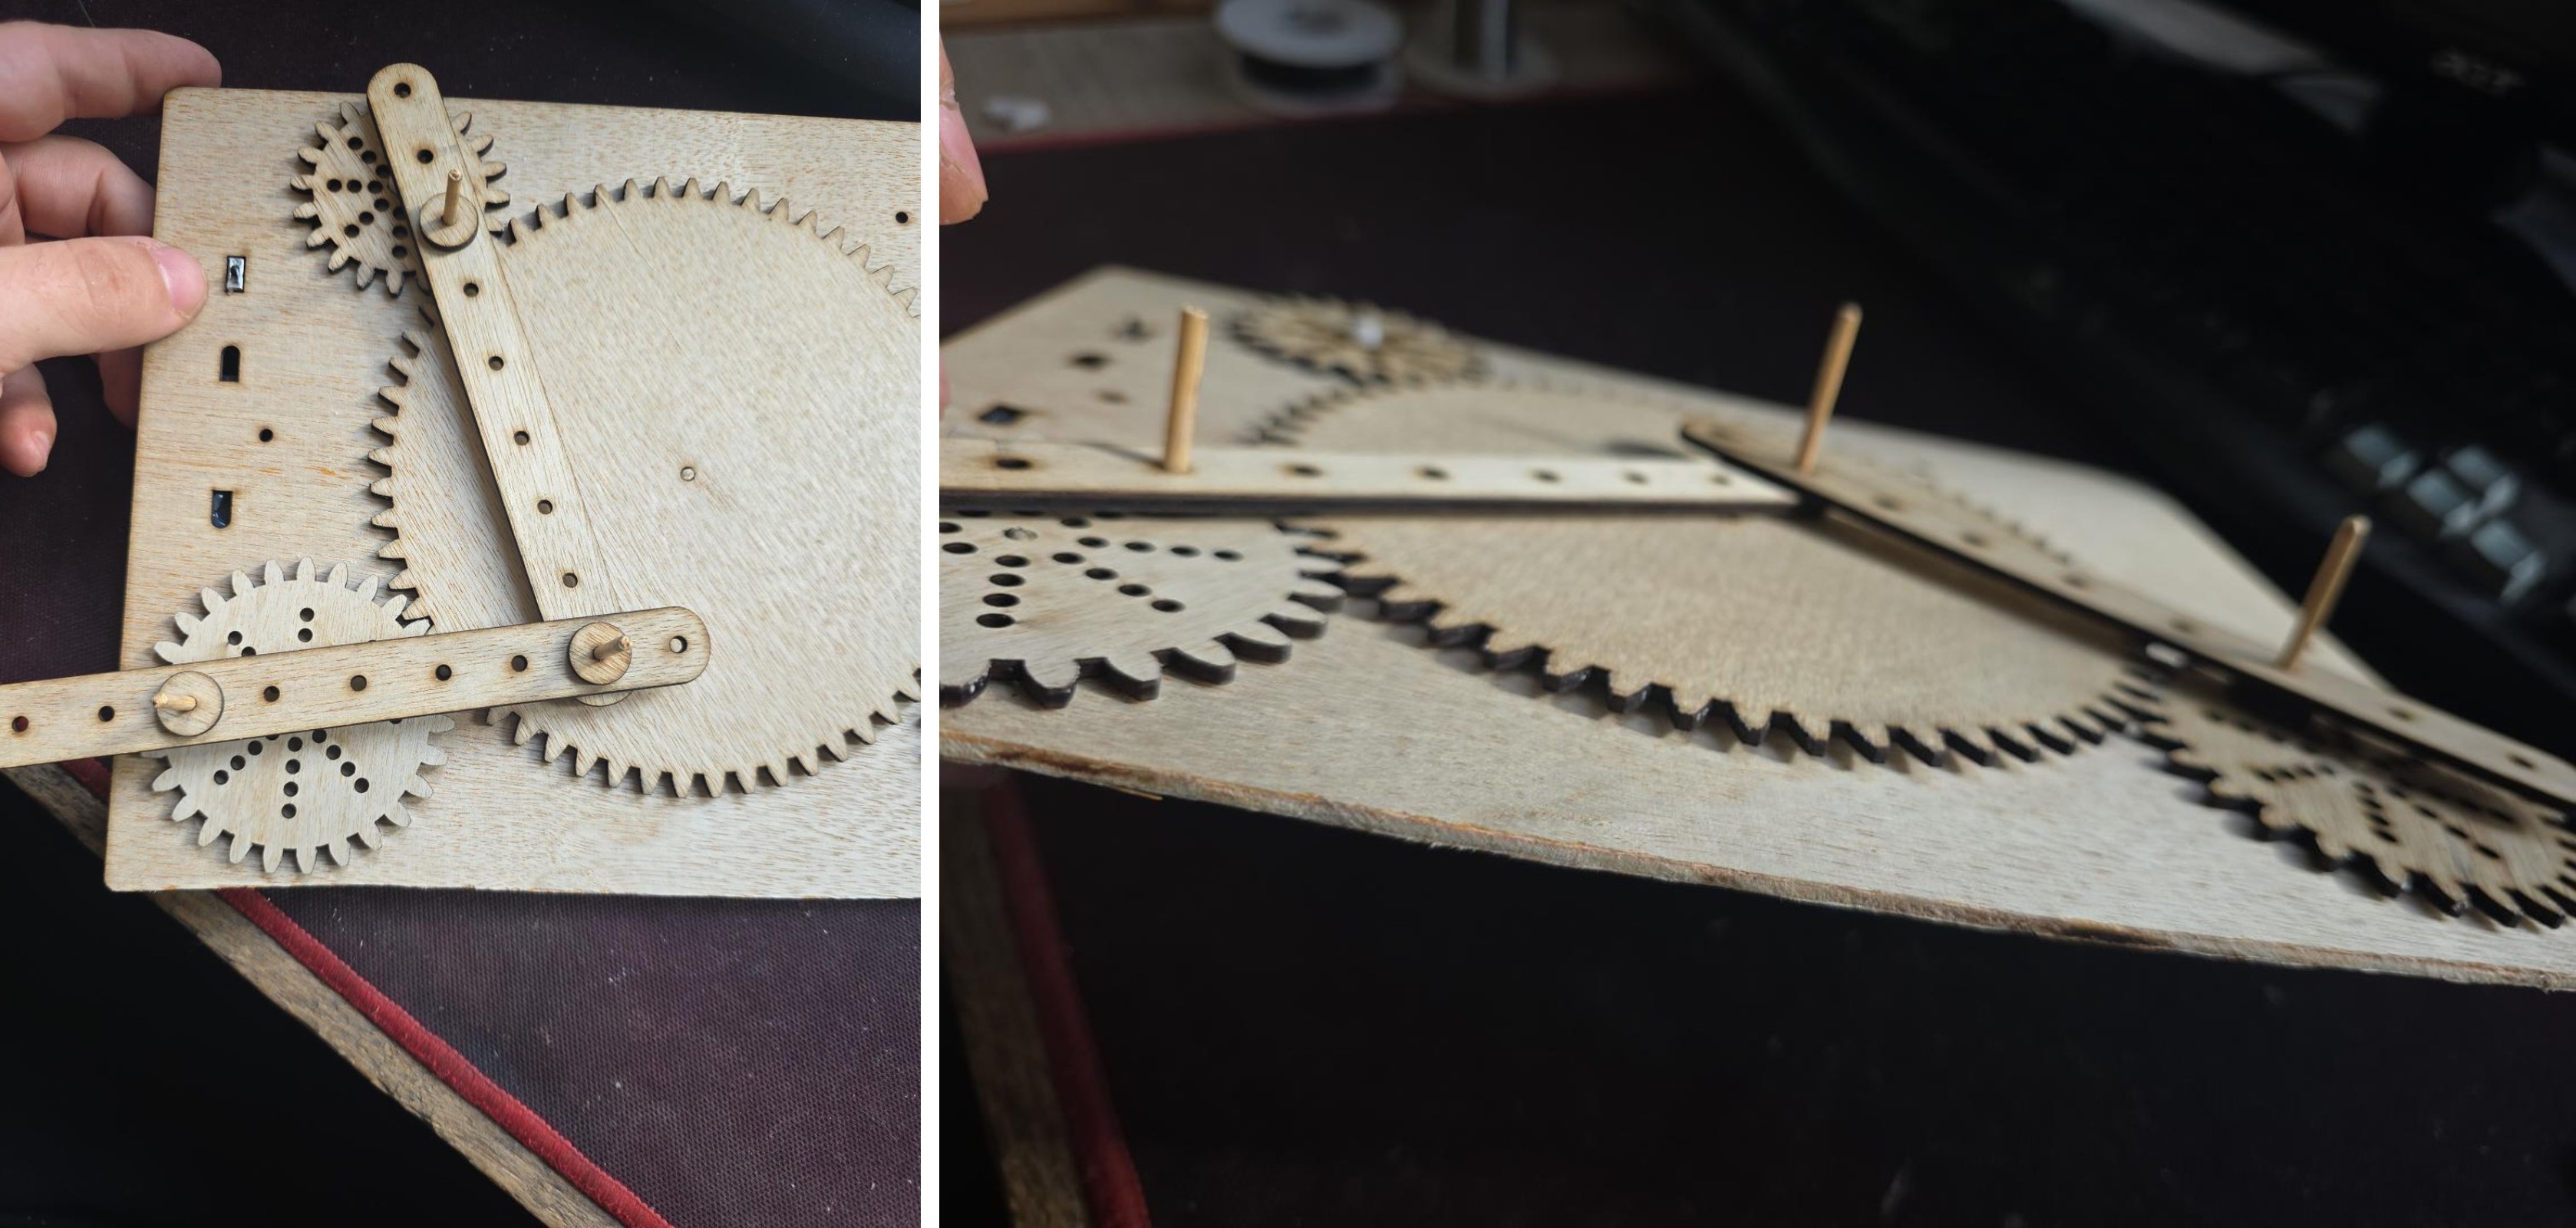
Try the arms on the gears
Put the two protruding ends into holes in the small gears. The center joint slides over the big gear. Press gently to check the arms sit level.
- Step 11 of 18
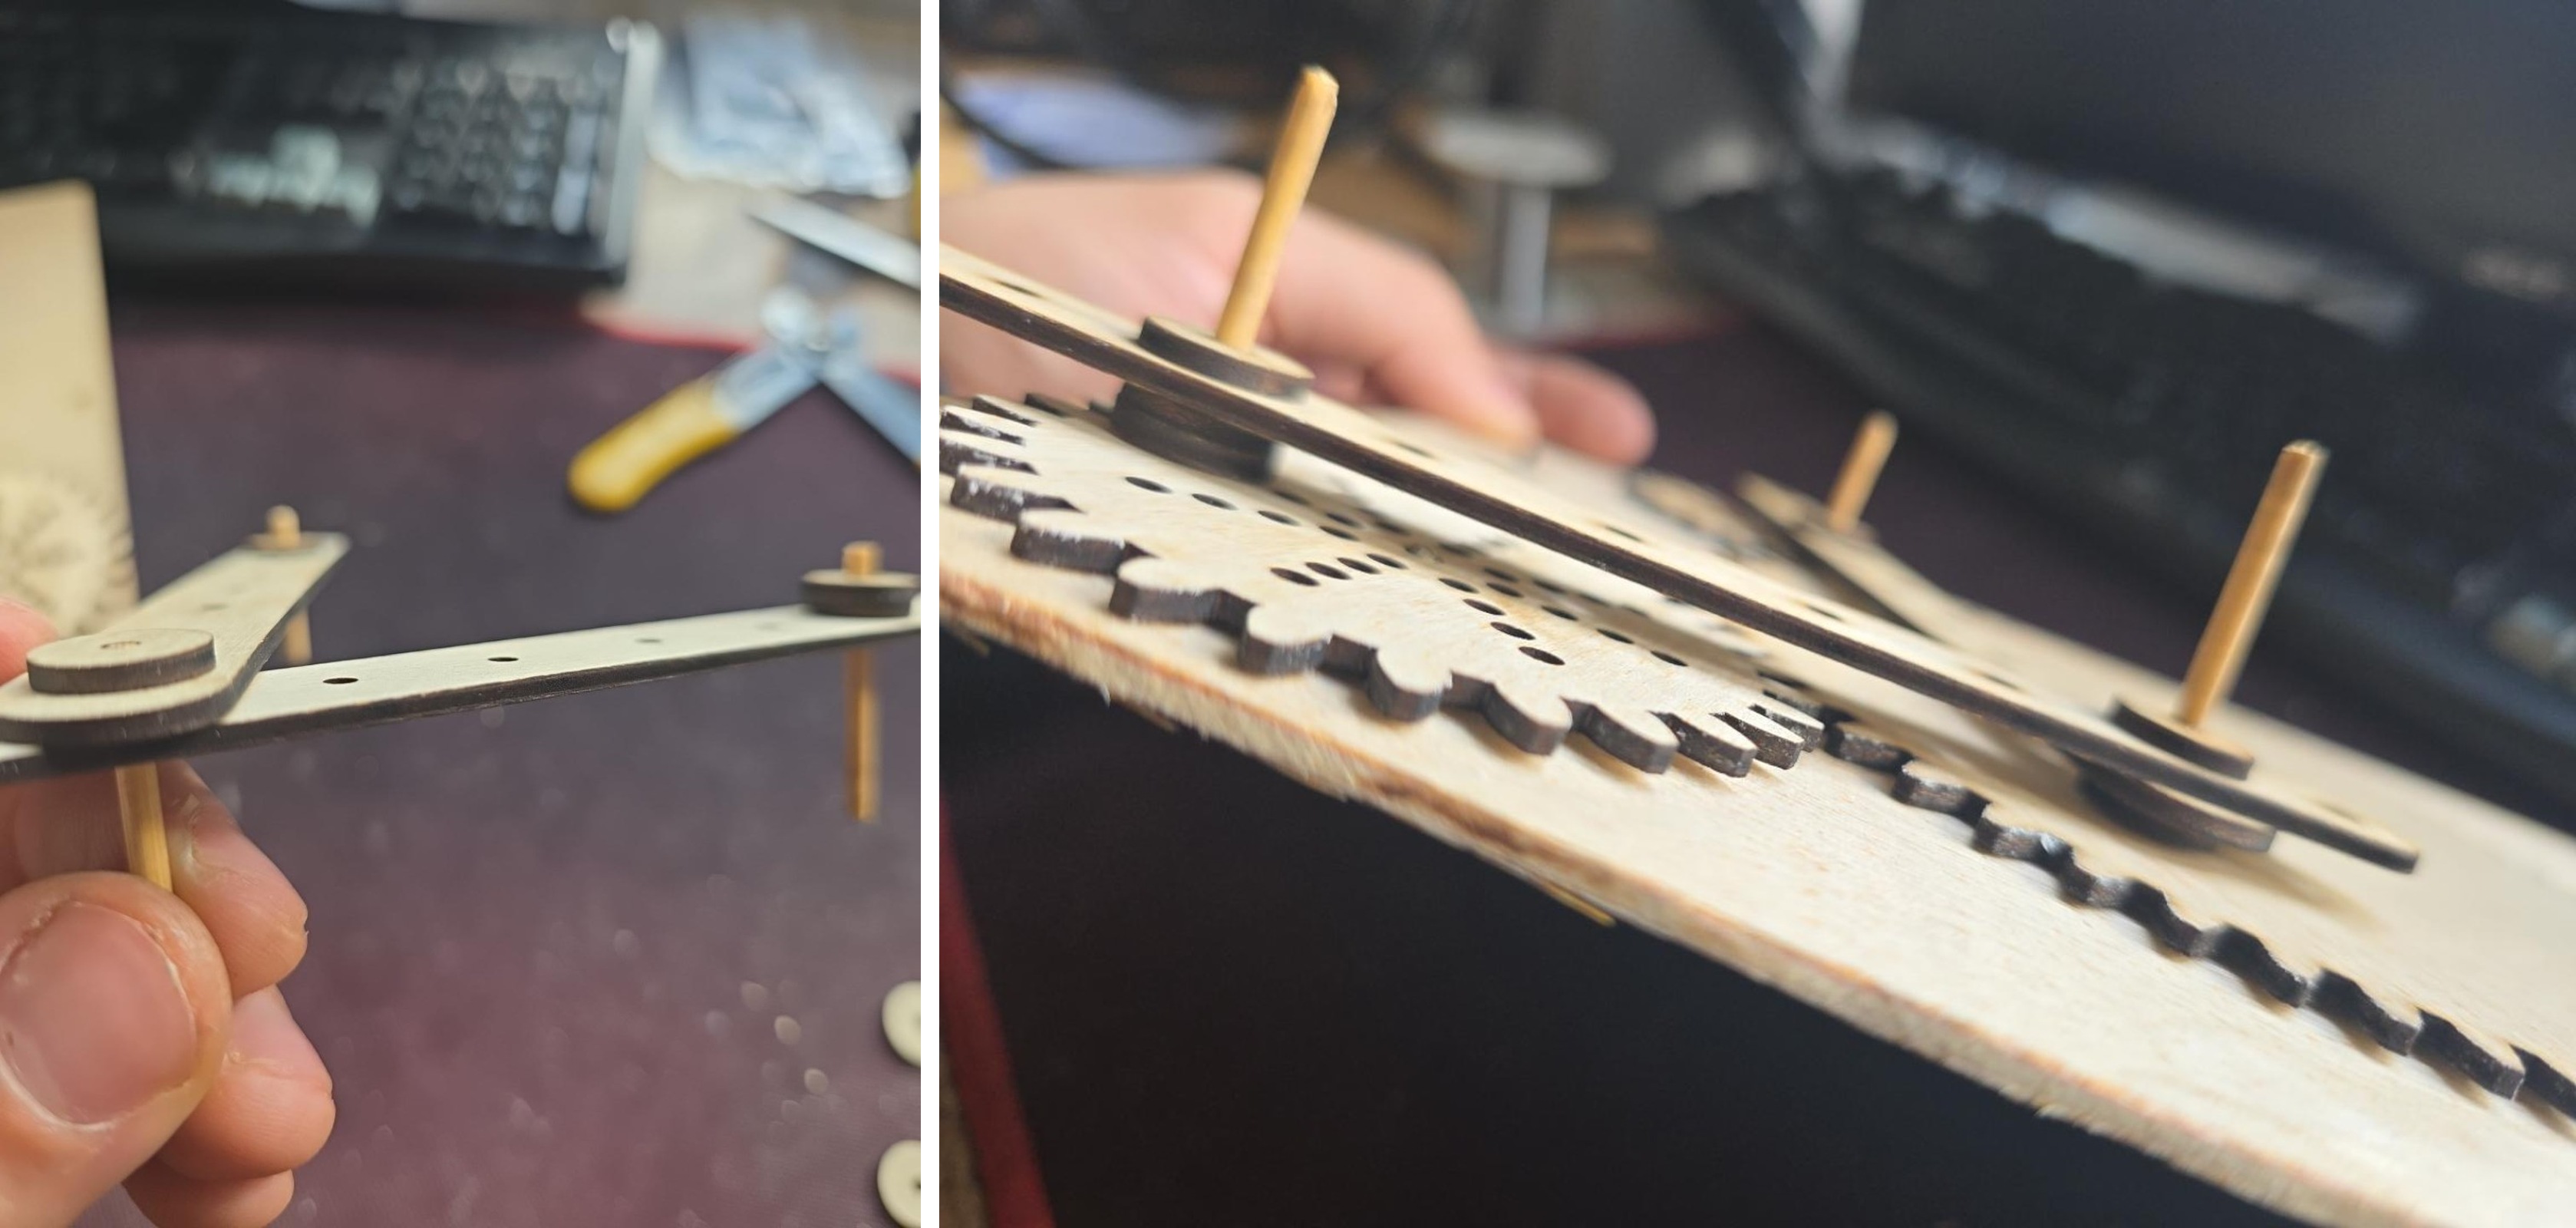
Lock the arms
Take the assembly off and add three top collars. Use a flat table and ask an adult for help: these collars are tight and the sticks can be sharp.
- Step 12 of 18
Test the moving arms
Put the assembly back into the gears. Turn ON briefly and watch. If it jams, switch OFF and try different gear holes.
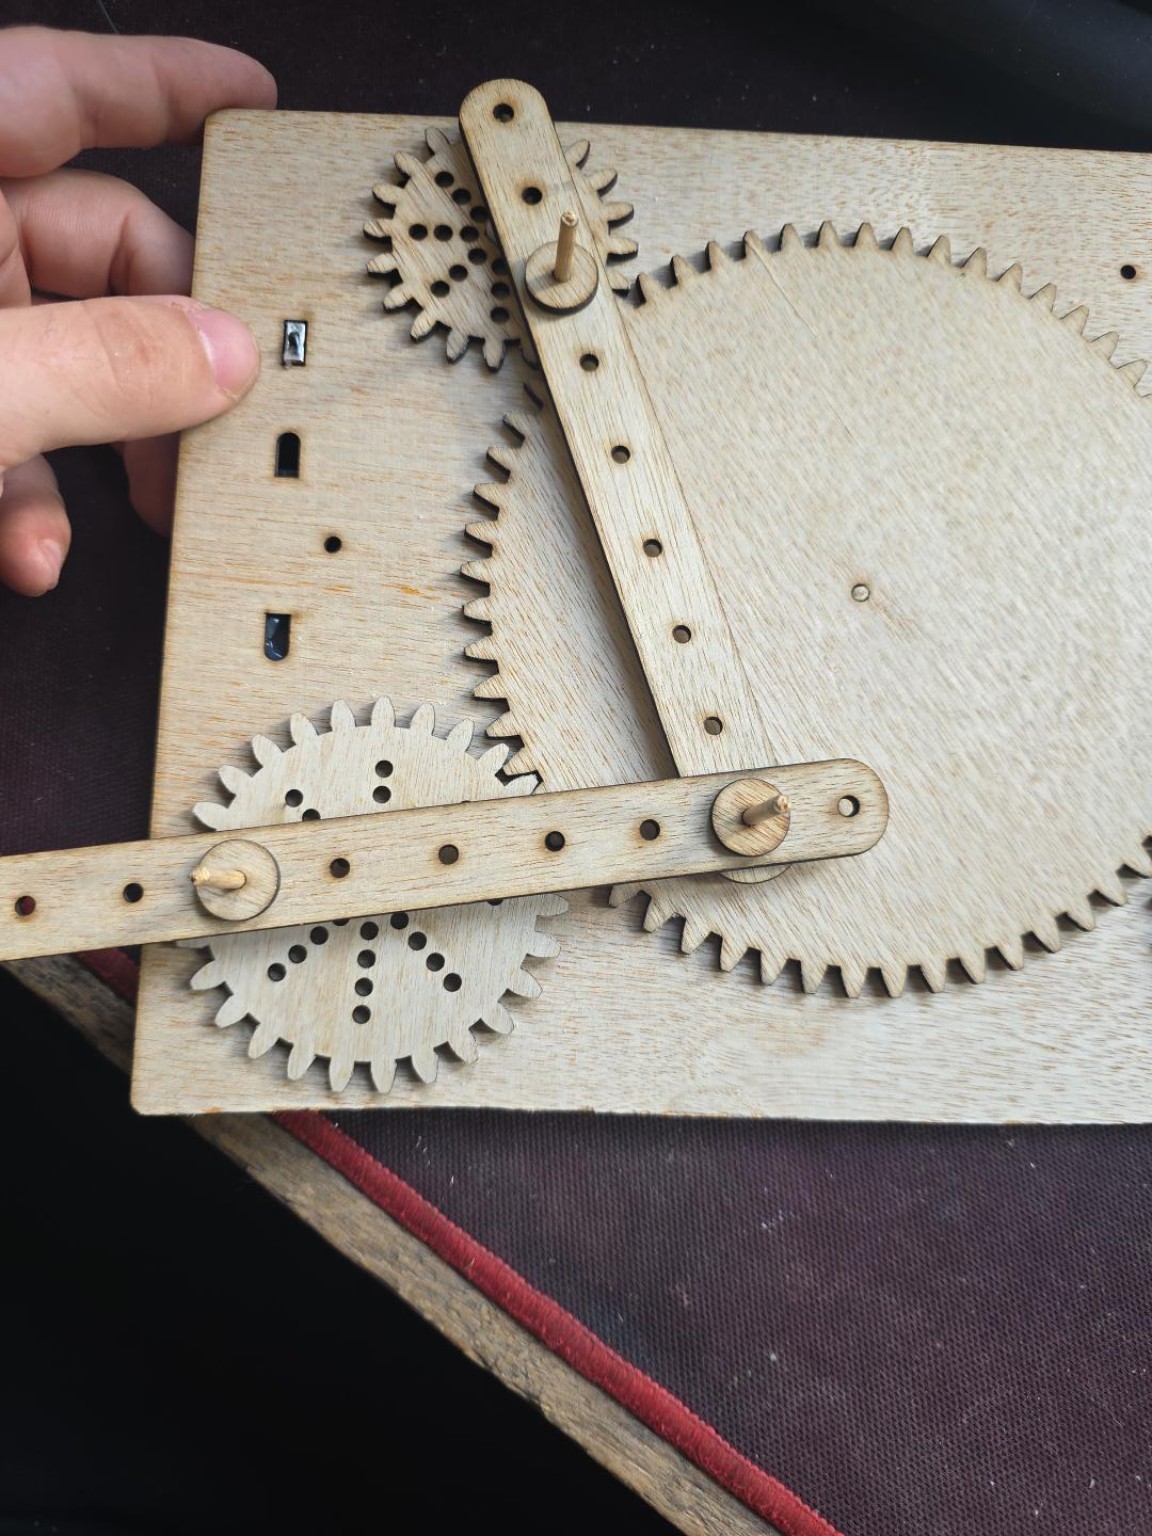
- Step 13 of 18
Build the pen holder
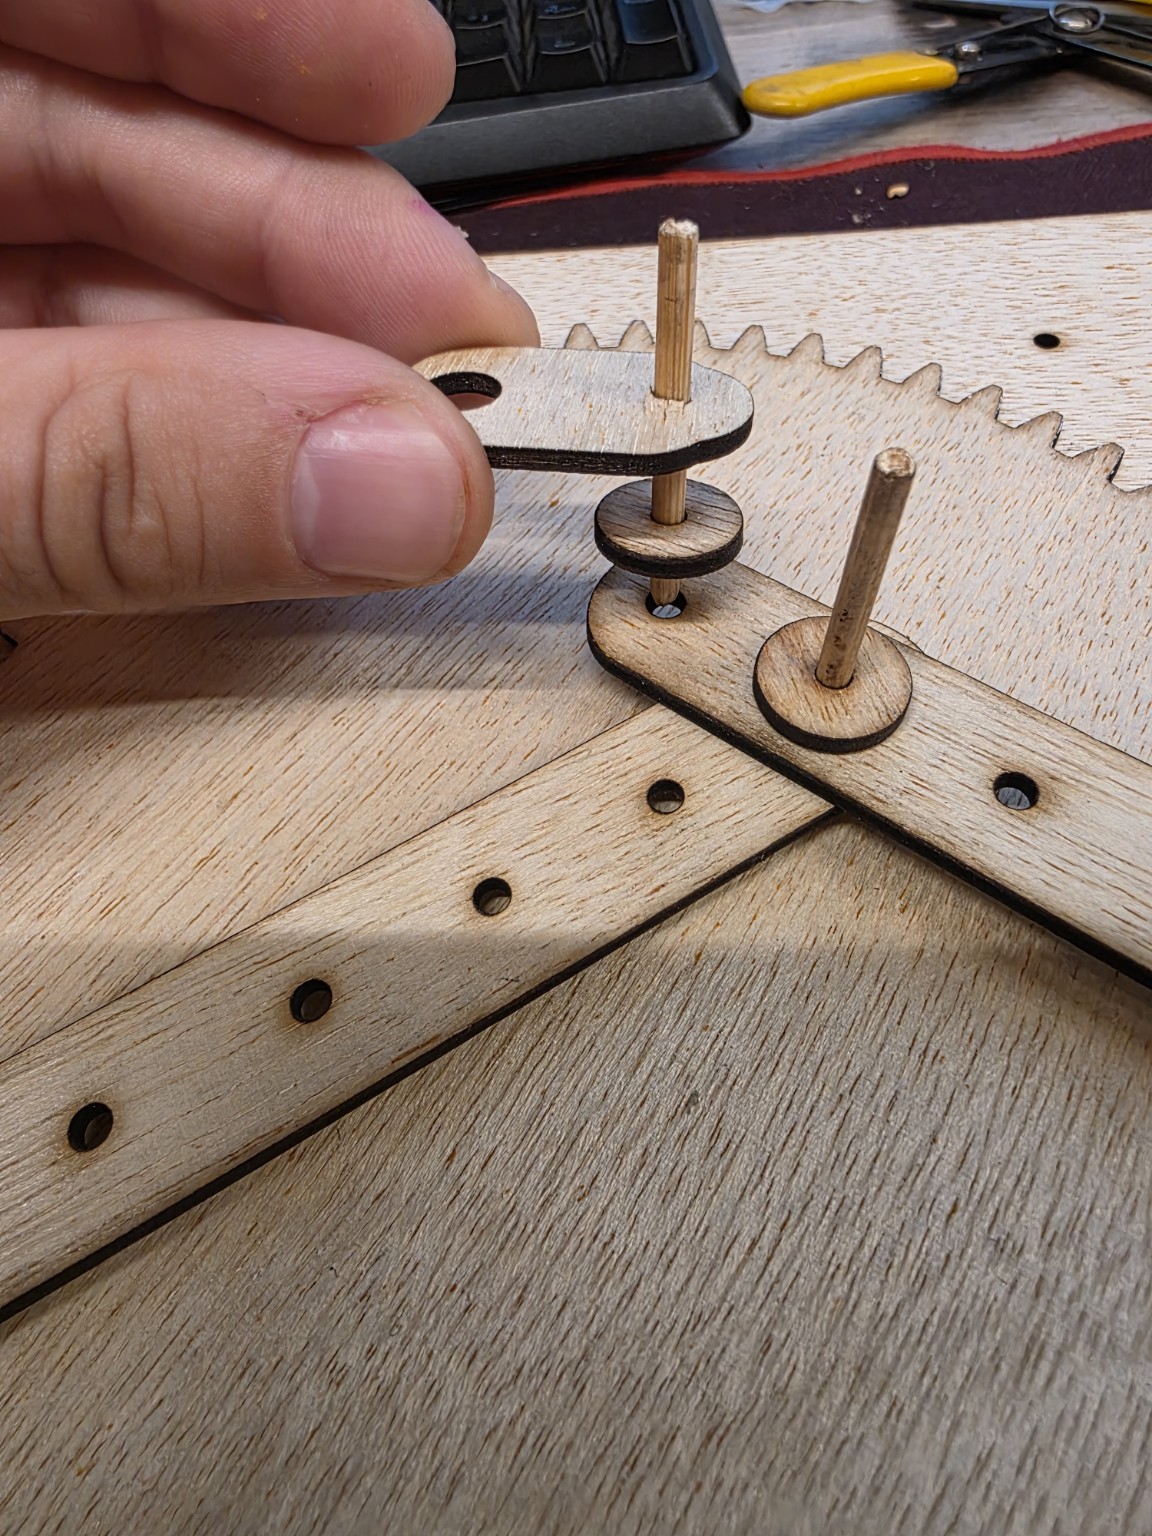
Part 4 / Give it a pen Take the fourth bamboo stick, the last round collar and the oval pen-holder piece. Add the round collar and slide the oval piece onto the stick.
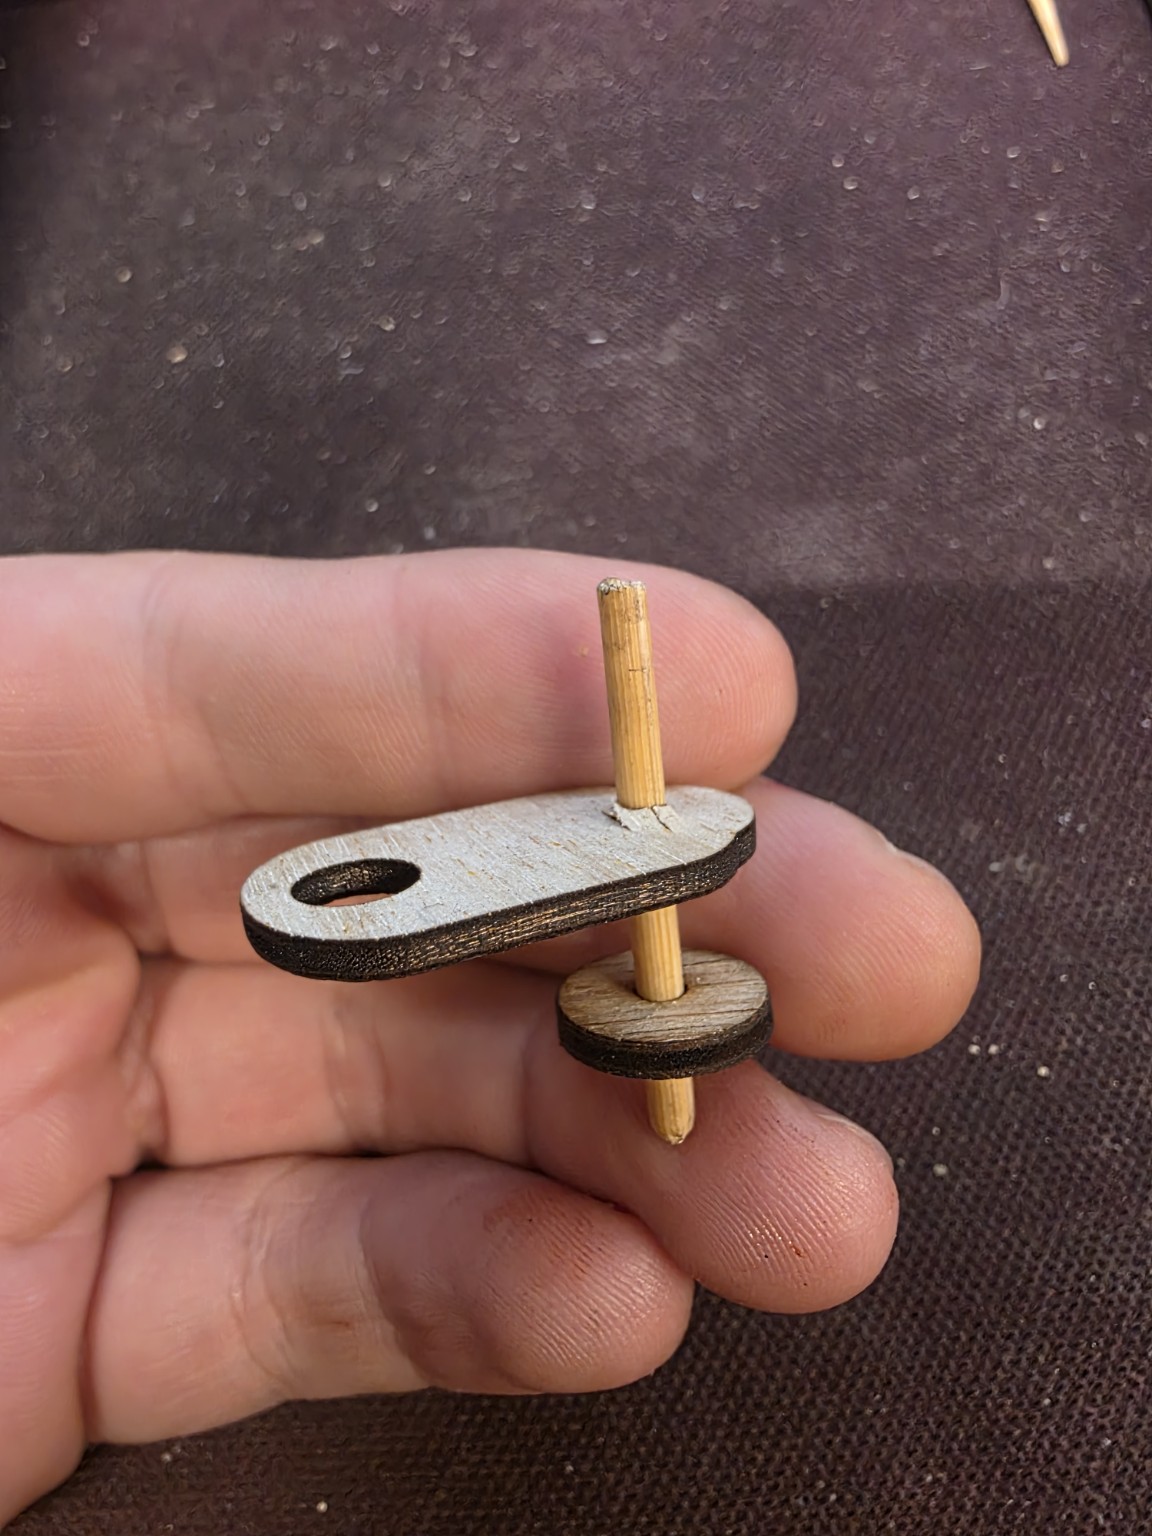
- Step 14 of 18
Attach the pen holder
Put the pen-holder stick into a hole near the far end of the arm that reaches over the big gear.
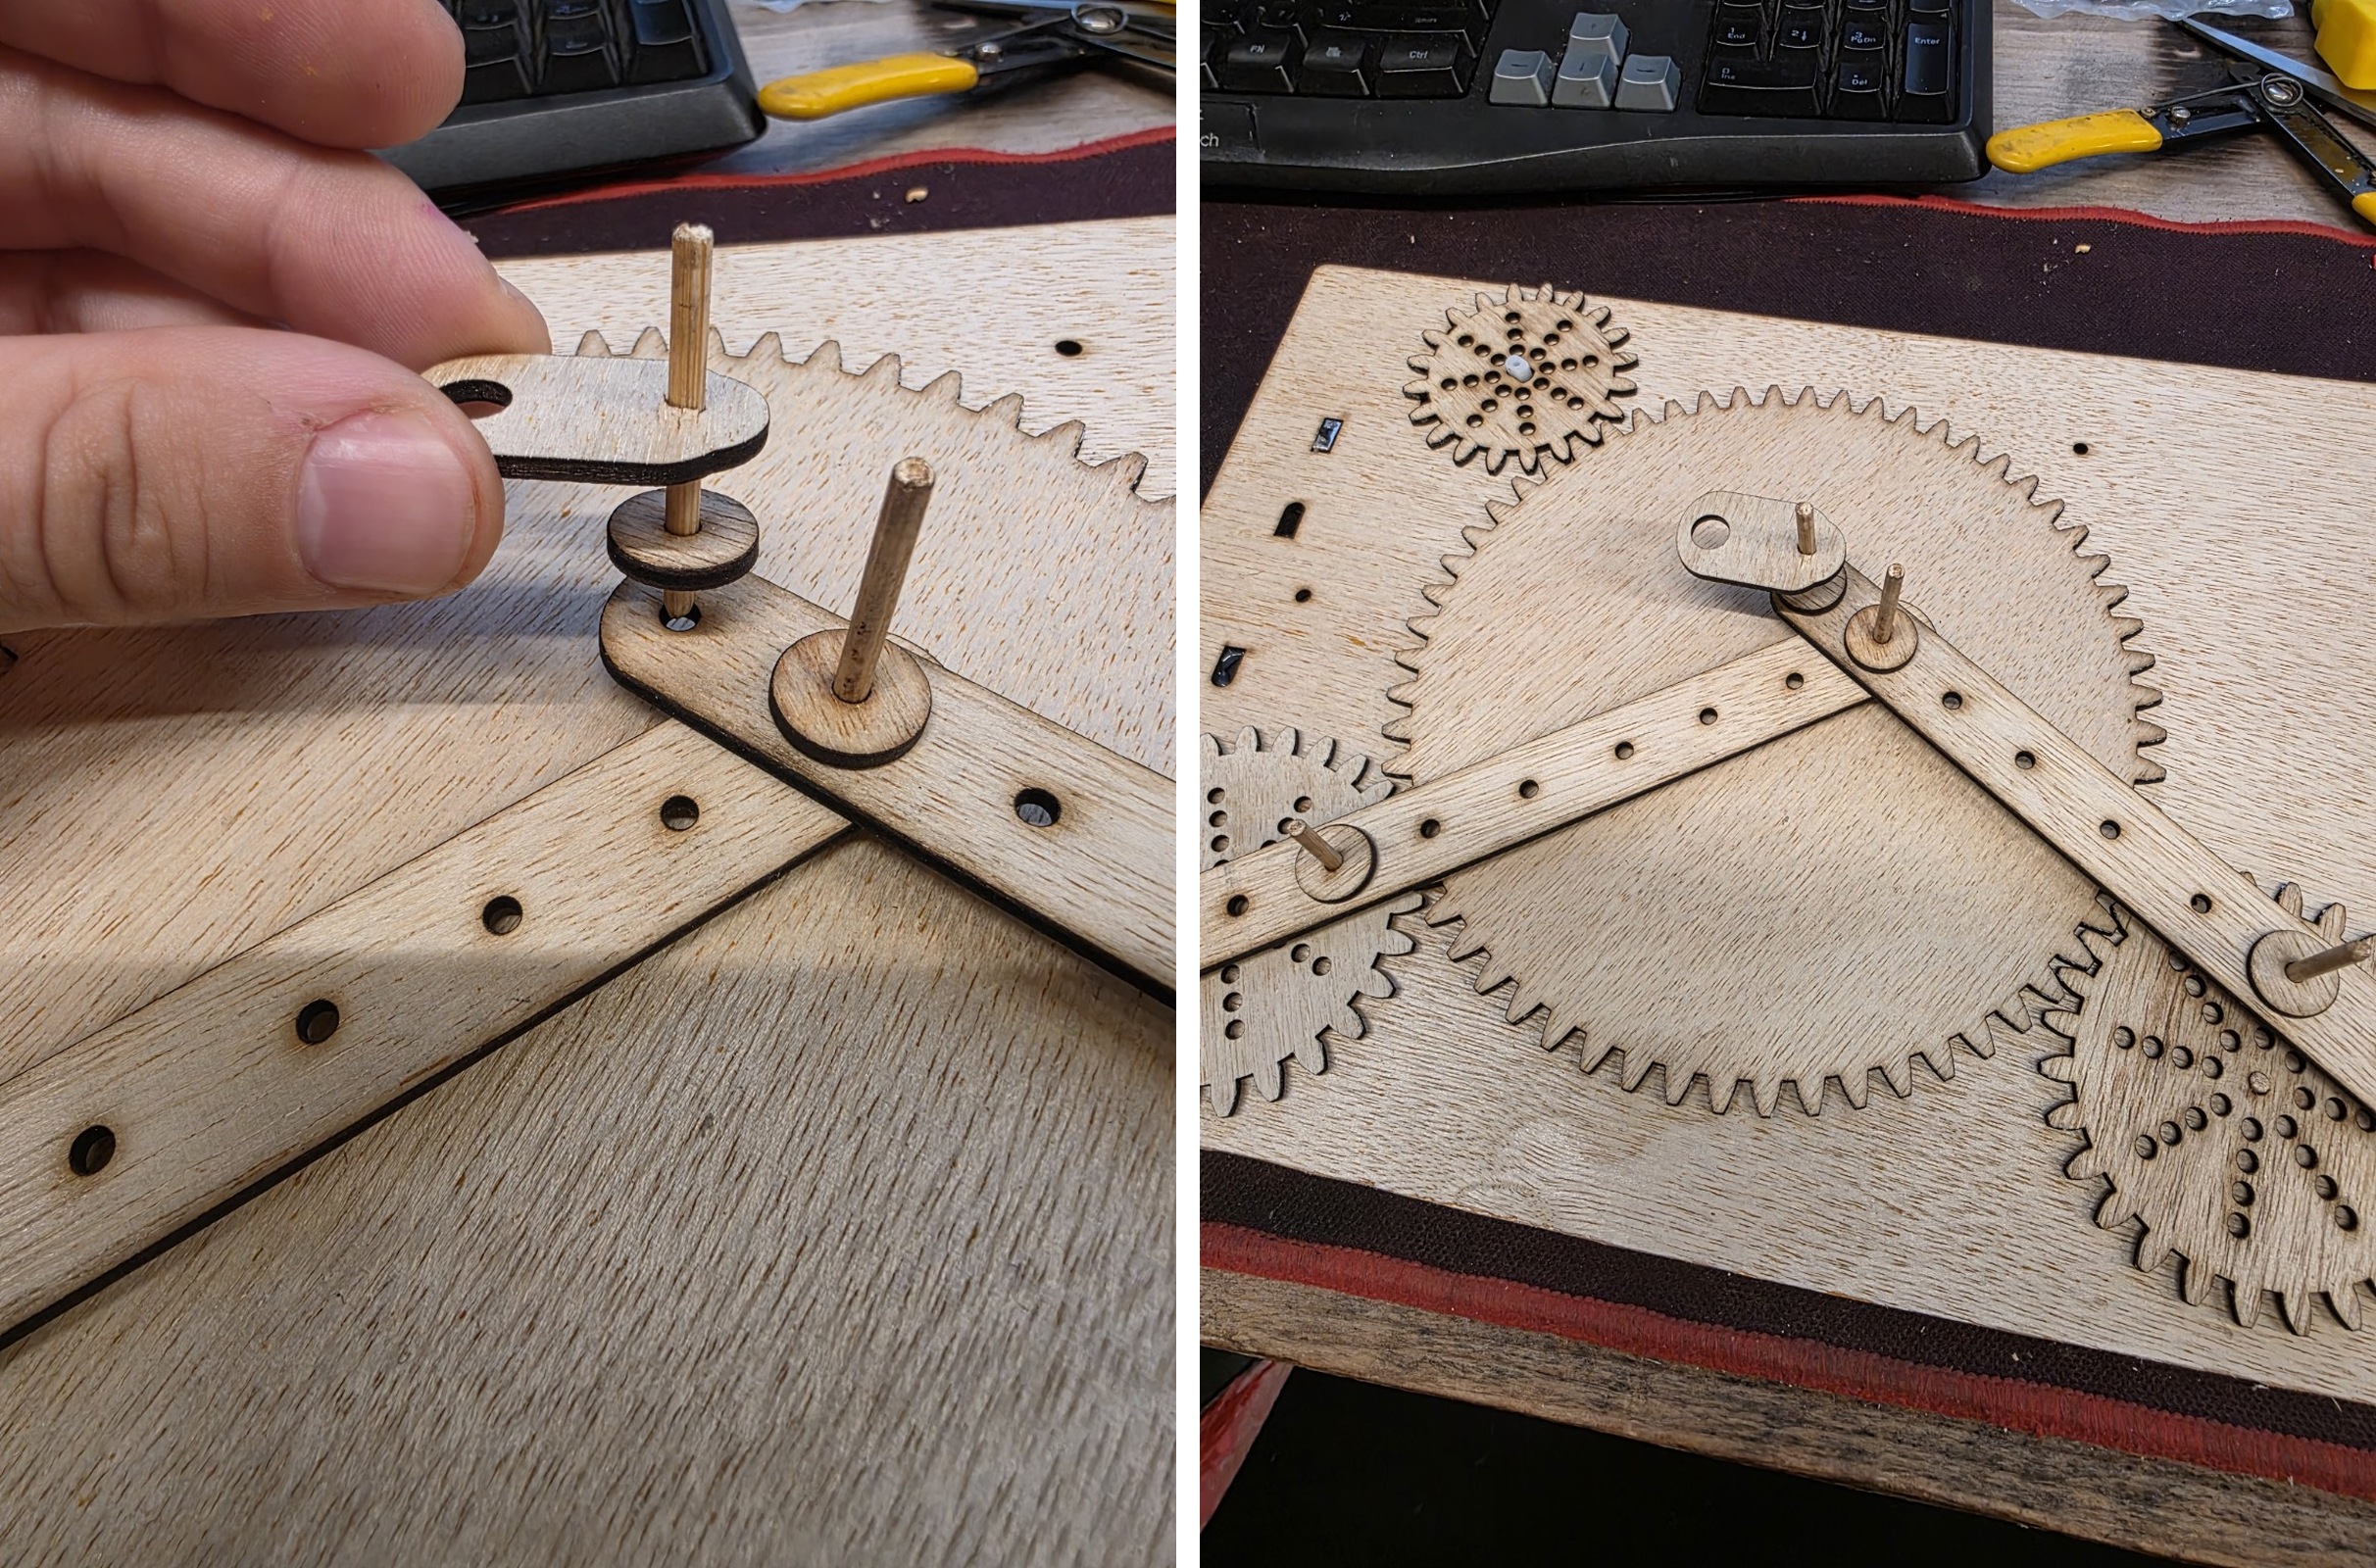
- Step 15 of 18
Attach your paper
Part 5 / Make your first drawing Switch OFF. Put a little double-sided tape on the big gear, then center your round paper on it.
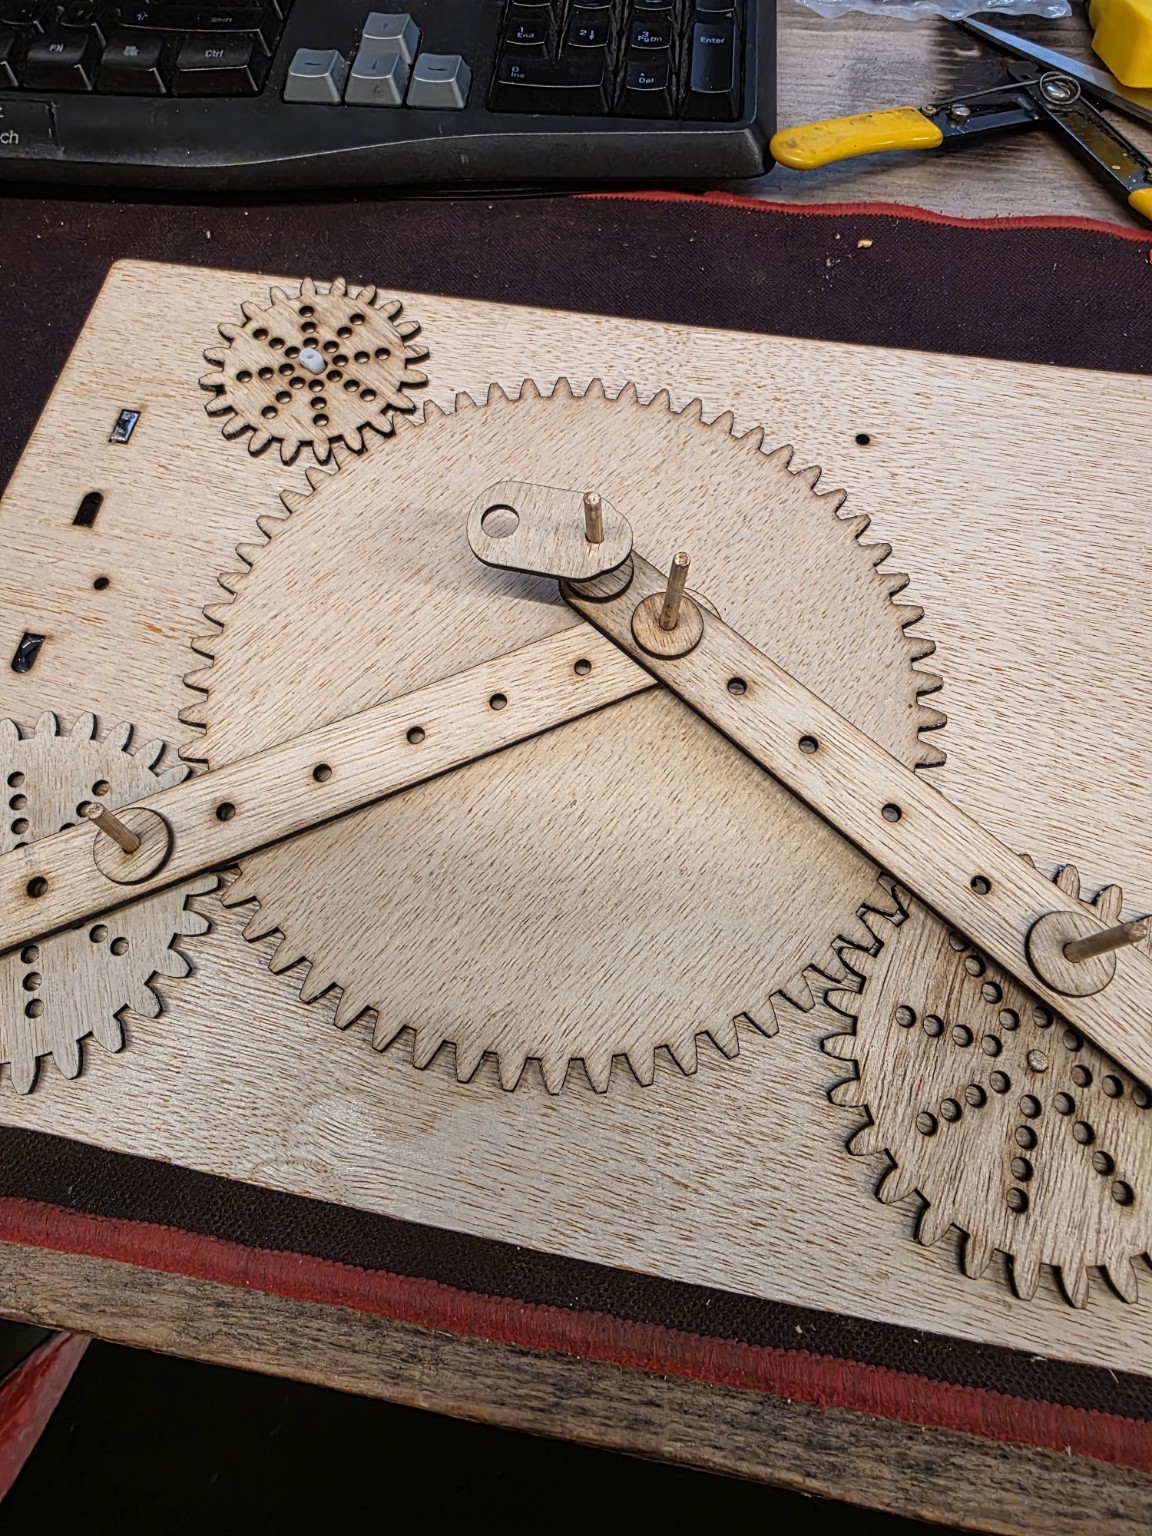
- Step 16 of 18
Put in your pen
Slide a pen into the oval holder. Adjust it until its tip just touches the paper, without pressing hard.
- Step 17 of 18
Make your first drawing!
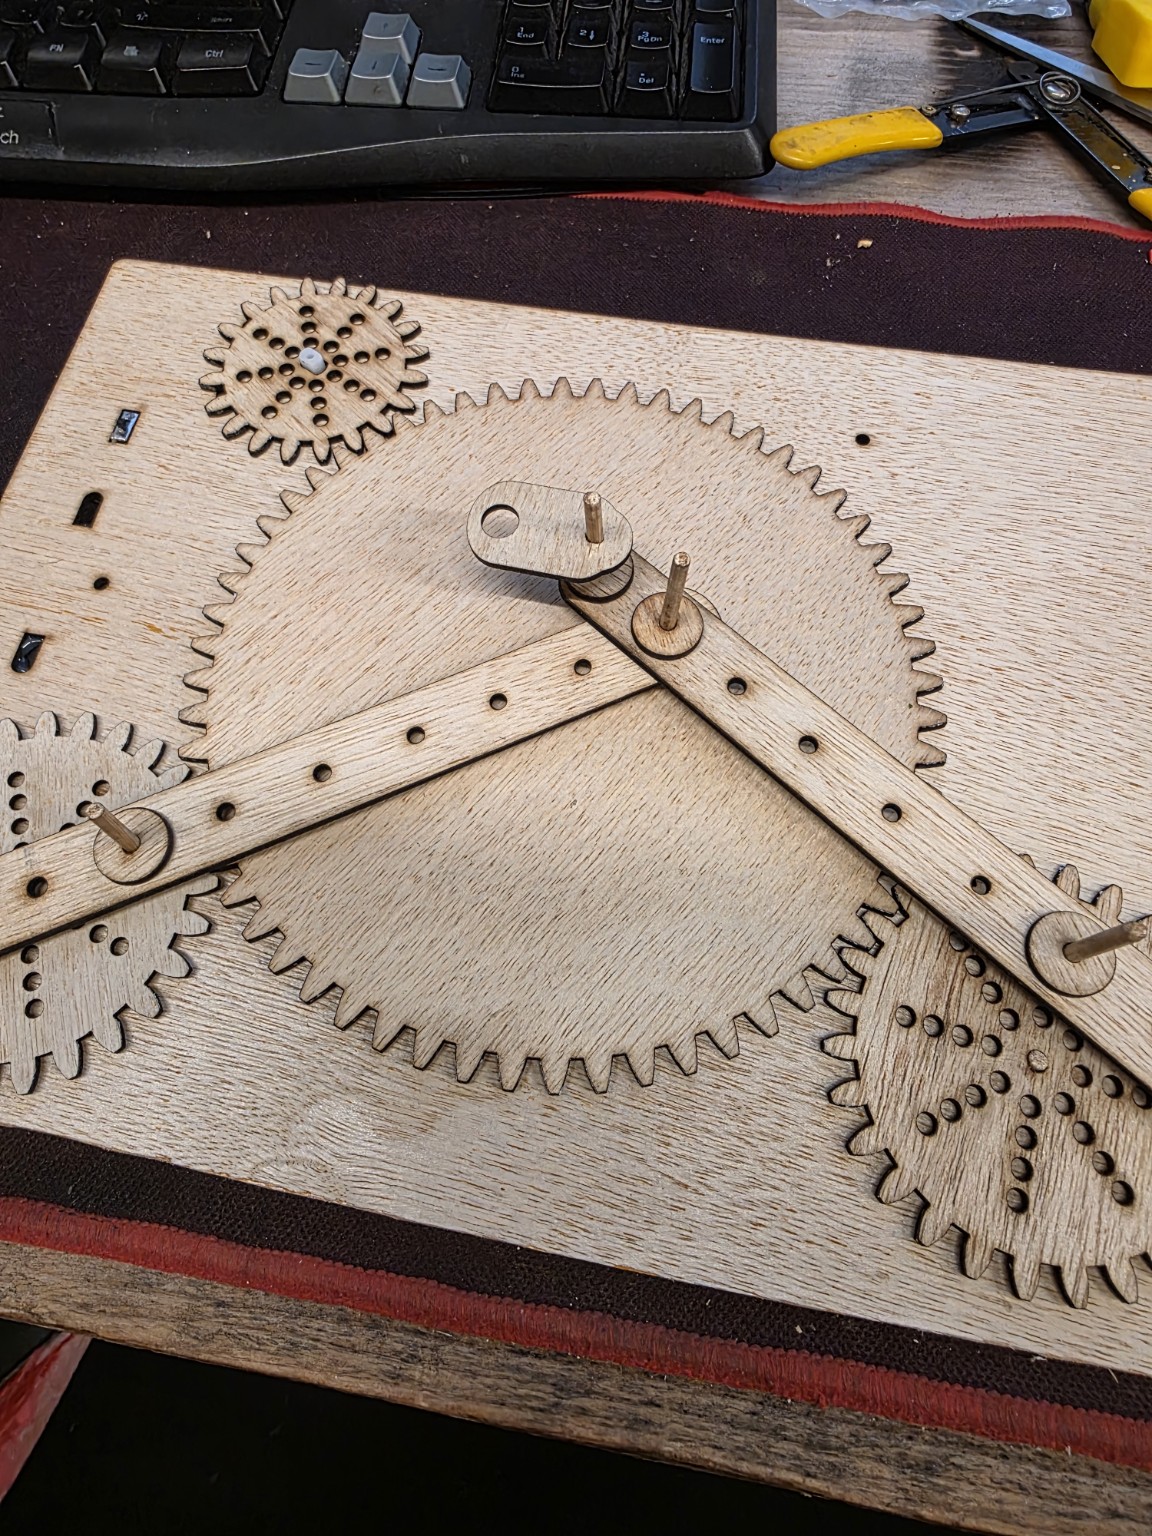
Turn the switch ON and watch the gears move the pen. Turn OFF to stop. Try a new color or a new position!
- Step 18 of 18
Bonus: the fifth bamboo stick
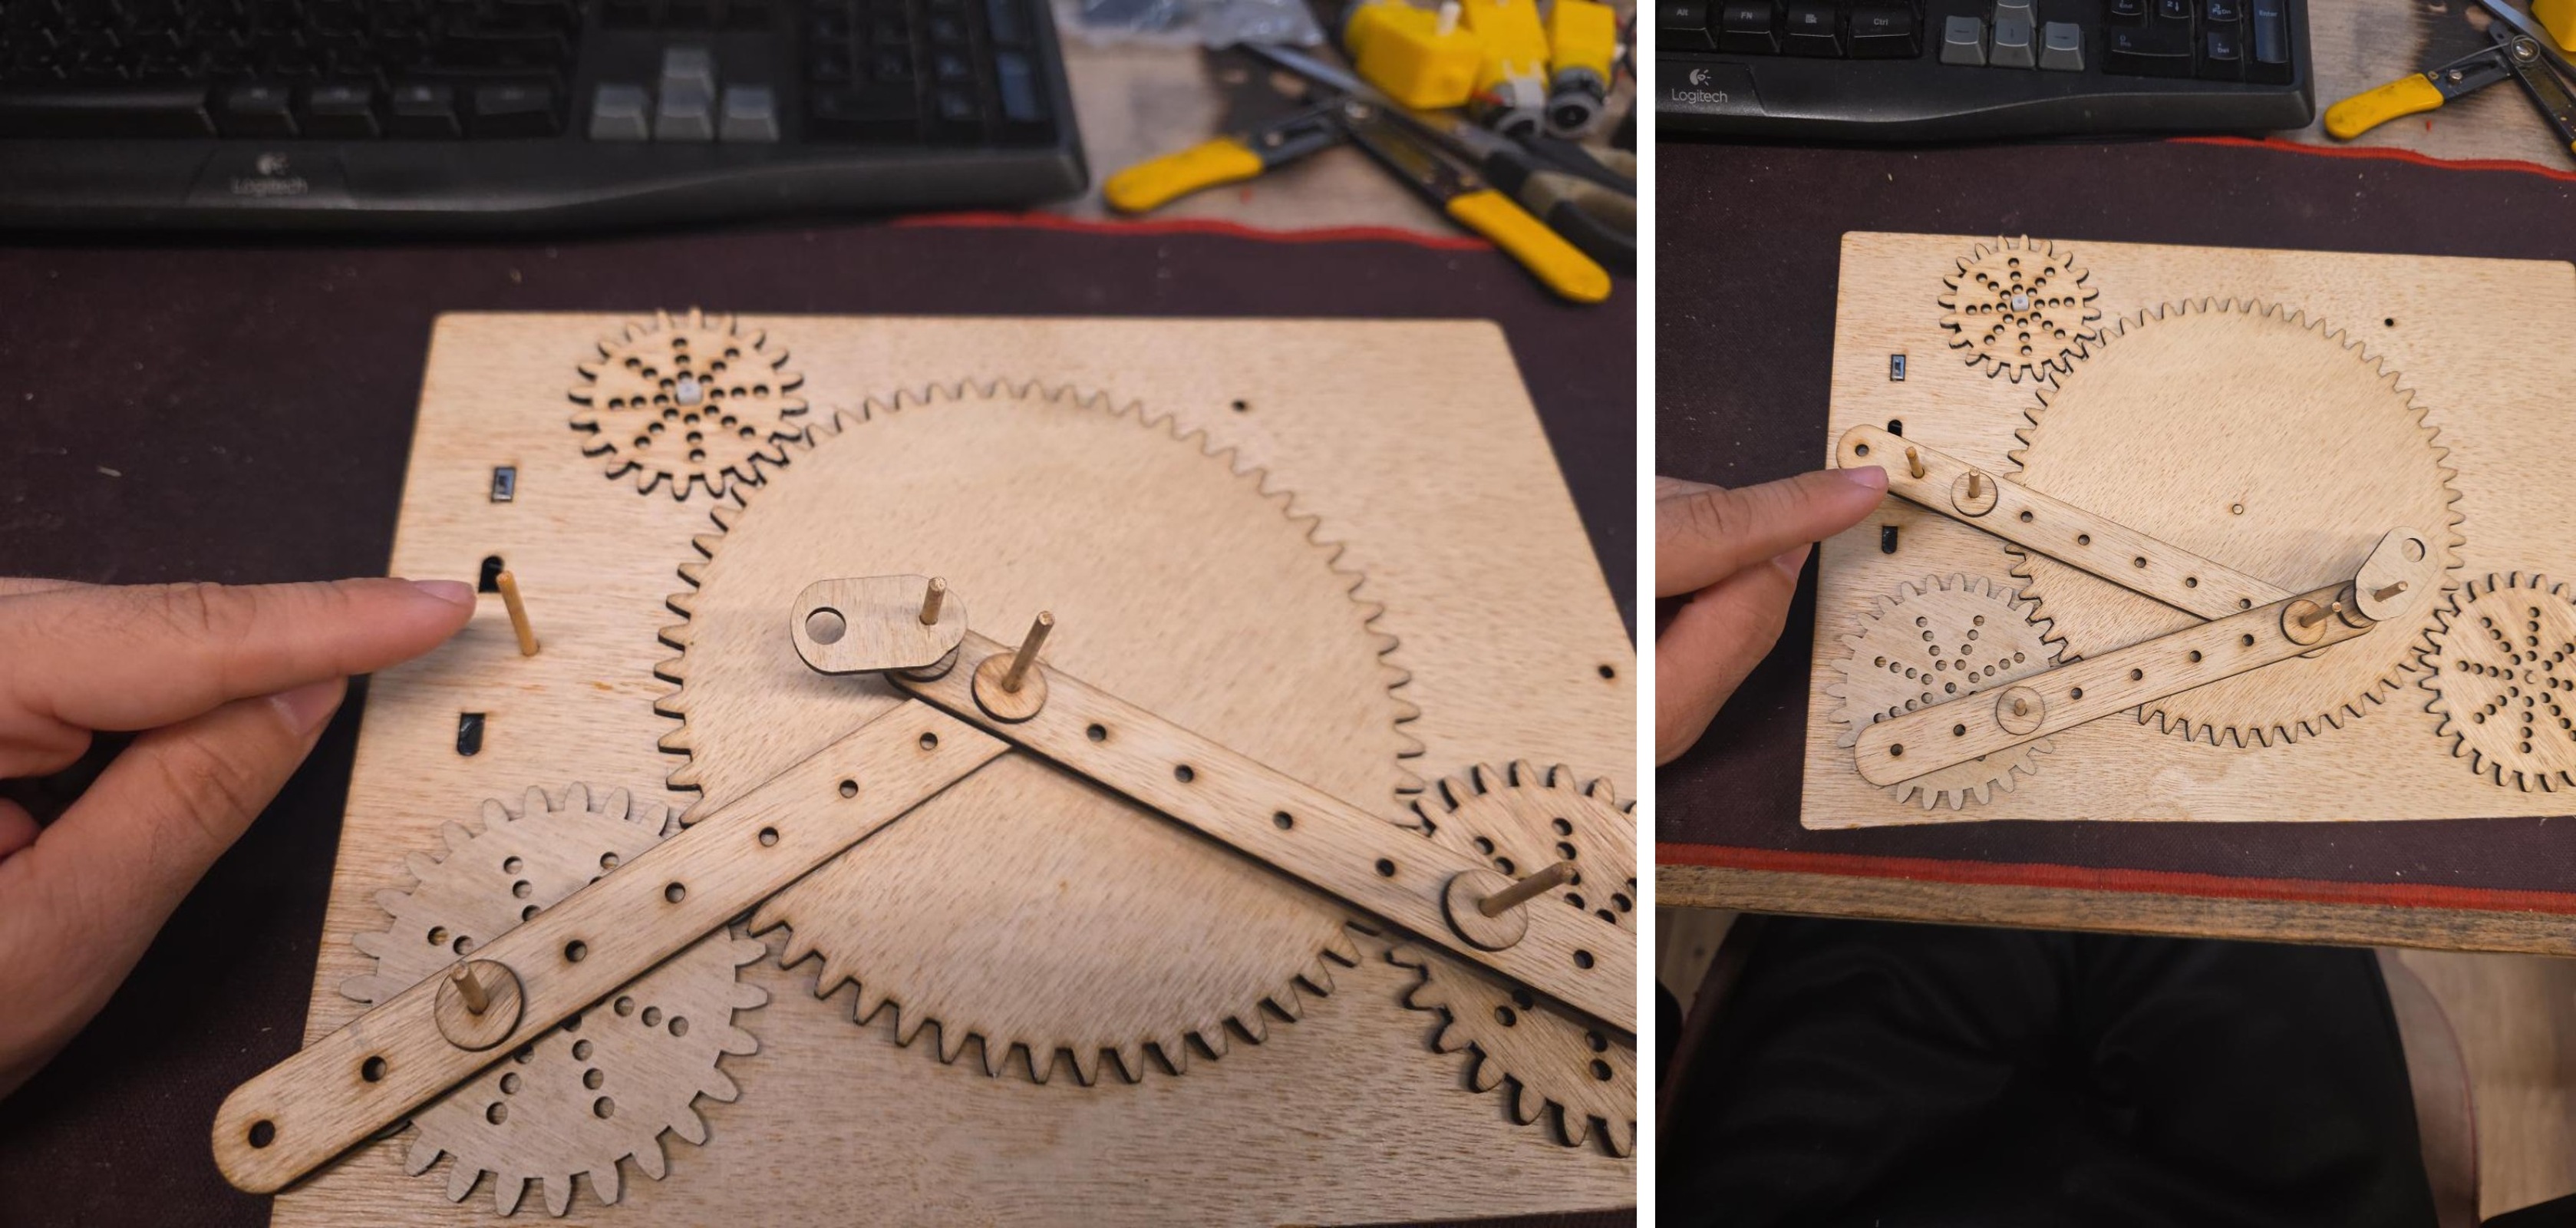
Keep experimenting! Save the fifth stick for experimenting. Put it into a stationary hole only when you want to use that hole as a fixed pivot. Otherwise, leave it out so it cannot block the moving arms.
Workshop draft: Photographs are from the original build. Some steps (batteries, paper, pen installation) still need dedicated photos. Before publishing, verify a specific beginner gear-hole recipe and test collar installation with a first-time builder. Robot in a Can · Festival NUM · Photo-first assembly guide