00 - How to connect your eBrain
Start with a USB cable. Add Wi-Fi when you are ready for robots and wireless projects!
Real interface screenshots · example device and network details
Let’s get connected
- Step 1 of 12
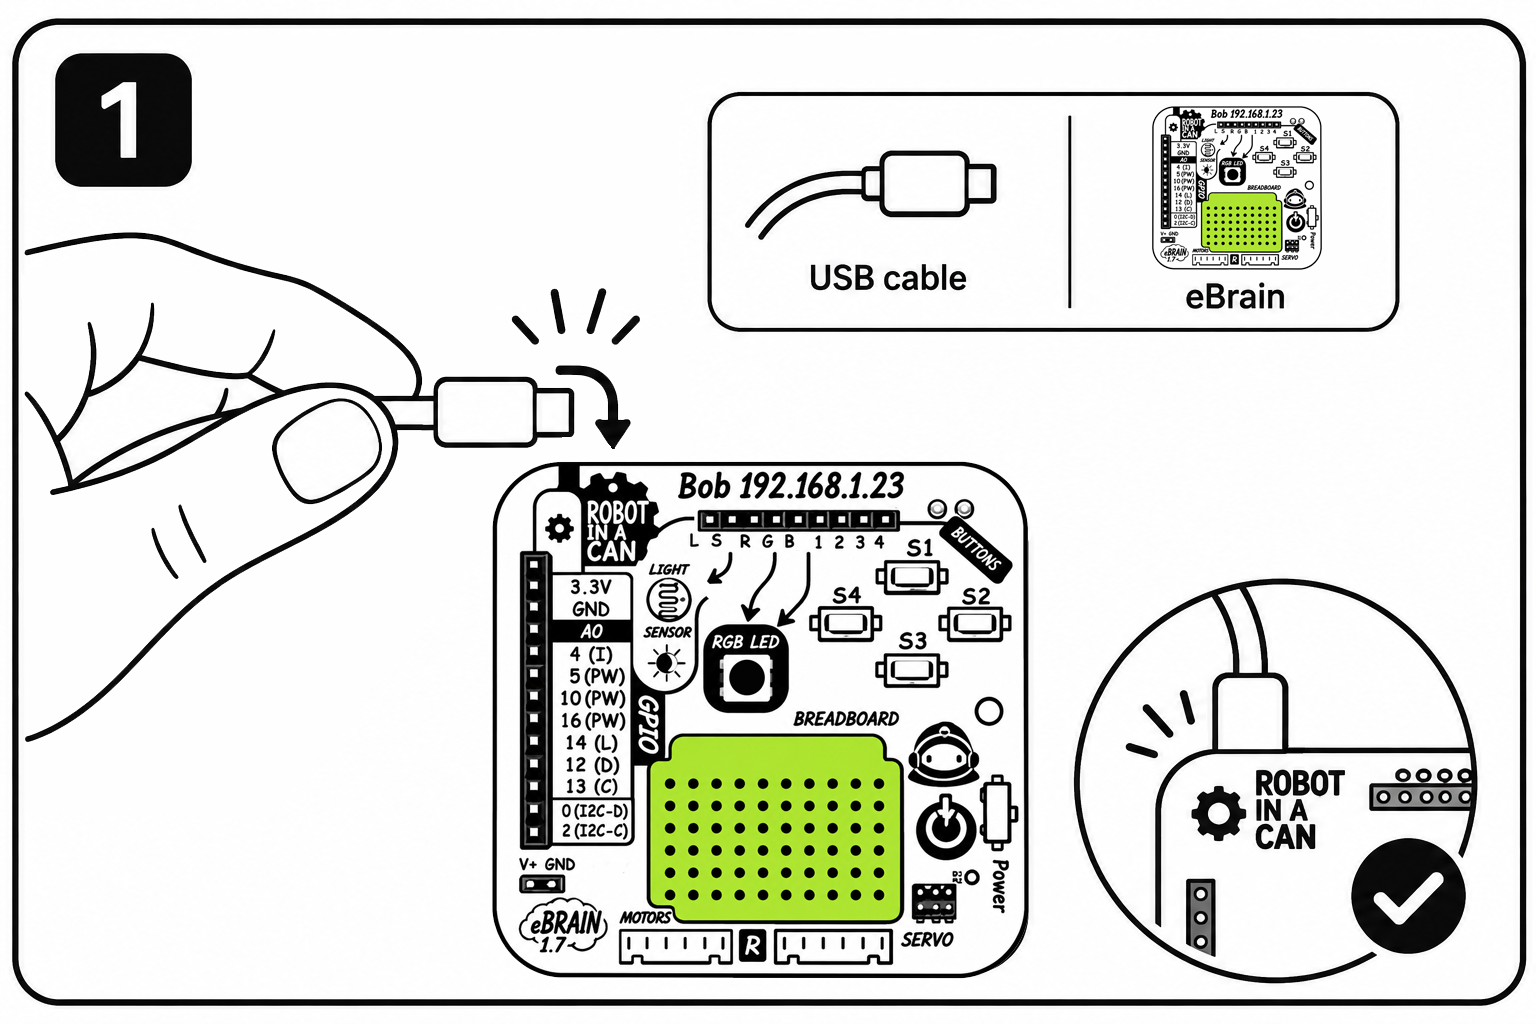
Plug in your eBrain
Use a USB data cable to join your eBrain to your computer. A charging-only cable will not work. Open this website in Chrome or Edge on a computer. Your eBrain gets power from the USB cable.
- Step 2 of 12
Press Connect USB
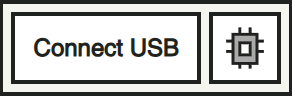
Find the little eBrain dock in the bottom-right corner. Click Connect USB. If the dock is already green and says it is connected, you can skip to step 4.
- Step 3 of 12
Choose your eBrain
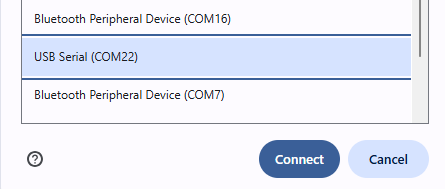
A browser box asks which device to use. Select the USB-Serial device for your eBrain, then click Connect. You might see a name such as USB-SERIAL or a port number such as COM22. Your number may be different.
- Step 4 of 12
Look for the green icon
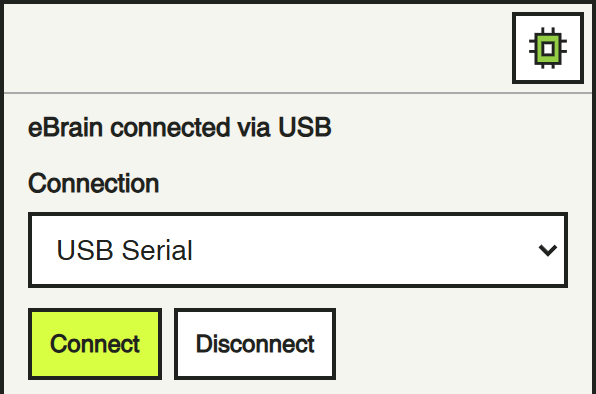
Click the little board icon to open the dock. Look for eBrain connected via USB and USB Serial. Hooray! You can use the other cards now. Closing the dock or changing cards keeps your connection.
- Step 5 of 12
Optional: give your robot Wi-Fi
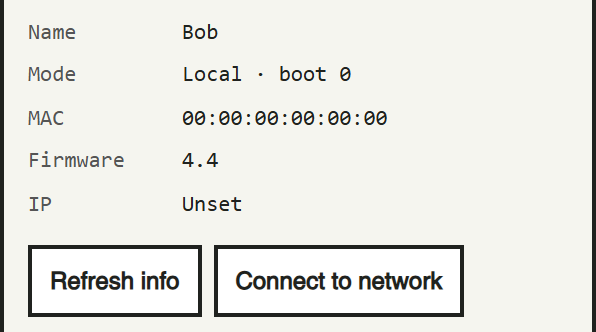
USB is all you need to start. Wi-Fi is useful for robots and wireless projects! Ask an adult to help. Keep USB connected, open the dock, and click Connect to network. IP: Unset means your eBrain does not have a local network address yet.
- Step 6 of 12
Choose your home network
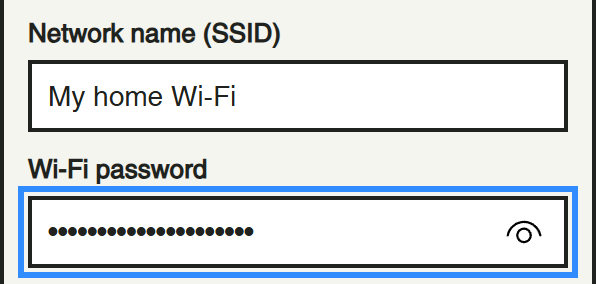
Put your computer on your home network. Ask an adult for your home’s 2.4 GHz Wi-Fi name and password. Type the name in Network name (SSID) and the password in Wi-Fi password. If a network is already saved, you can try Try saved network first. The picture uses an example name.
- Step 7 of 12
Press Save & connect
Check the spelling, then click Save & connect. This saves the Wi-Fi details on your eBrain. Keep the USB cable plugged in while the eBrain restarts. You only need to do this setup once unless your Wi-Fi details change.

- Step 8 of 12
Give it a moment
You may see Waiting for the eBrain to restart and join Wi-Fi. This is normal. Give it up to about 45 seconds before trying again. The website checks for the new IP address and tries to switch to Wi-Fi for you.

- Step 9 of 12
Check your wireless connection
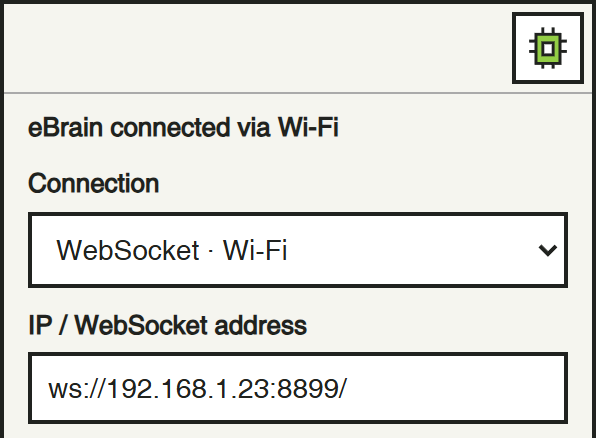
A green icon and eBrain connected via Wi-Fi mean it worked! The connection menu now says WebSocket · Wi-Fi. If the browser asks about local network access, ask an adult to help allow this trusted site to reach your eBrain.
- Step 10 of 12
An IP address is a local “phone number”
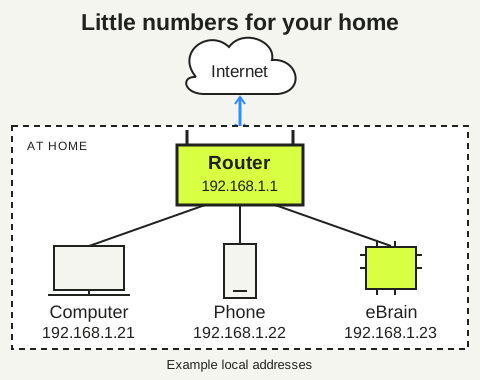
Your router usually gives each device at home its own local IP address, such as 192.168.1.23. Think of it as a little phone number inside your house! Devices use these numbers to send messages to the right place. Your router also passes messages between your home and the internet, and sends the replies to the right device. The numbers in this picture are examples.
- Step 11 of 12
Next time: power on and open the page
Your browser remembers the IP address. Next time, it quietly tries Wi-Fi when you open the page. Keep your computer and eBrain on the same home network. Your robot still needs power: only unplug USB after it has another suitable power source. Ask an adult if you are unsure.
- Step 12 of 12
Stuck? Try these small checks
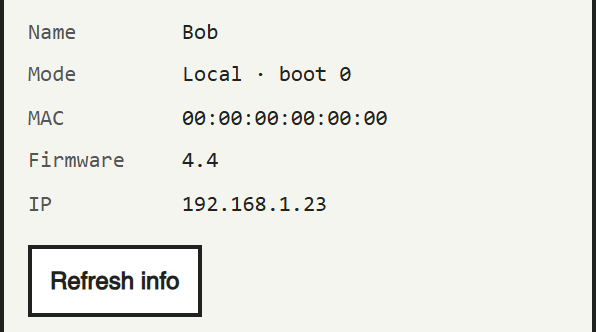
No USB device? Try a data cable, another USB socket, or close another app using the eBrain. No Wi-Fi IP after about 45 seconds? Ask an adult to check the Wi-Fi name and password. If the saved IP changes, connect USB again, read the new IP, then choose WebSocket and enter that address. USB always remains an option.
You can open another card or close the dock without disconnecting your eBrain. Use Disconnect when you want to end the connection.