01 · Meet Your Robot
Let’s bring your robot to life!
Try it step by step
- Step 1 of 6
Get everything ready
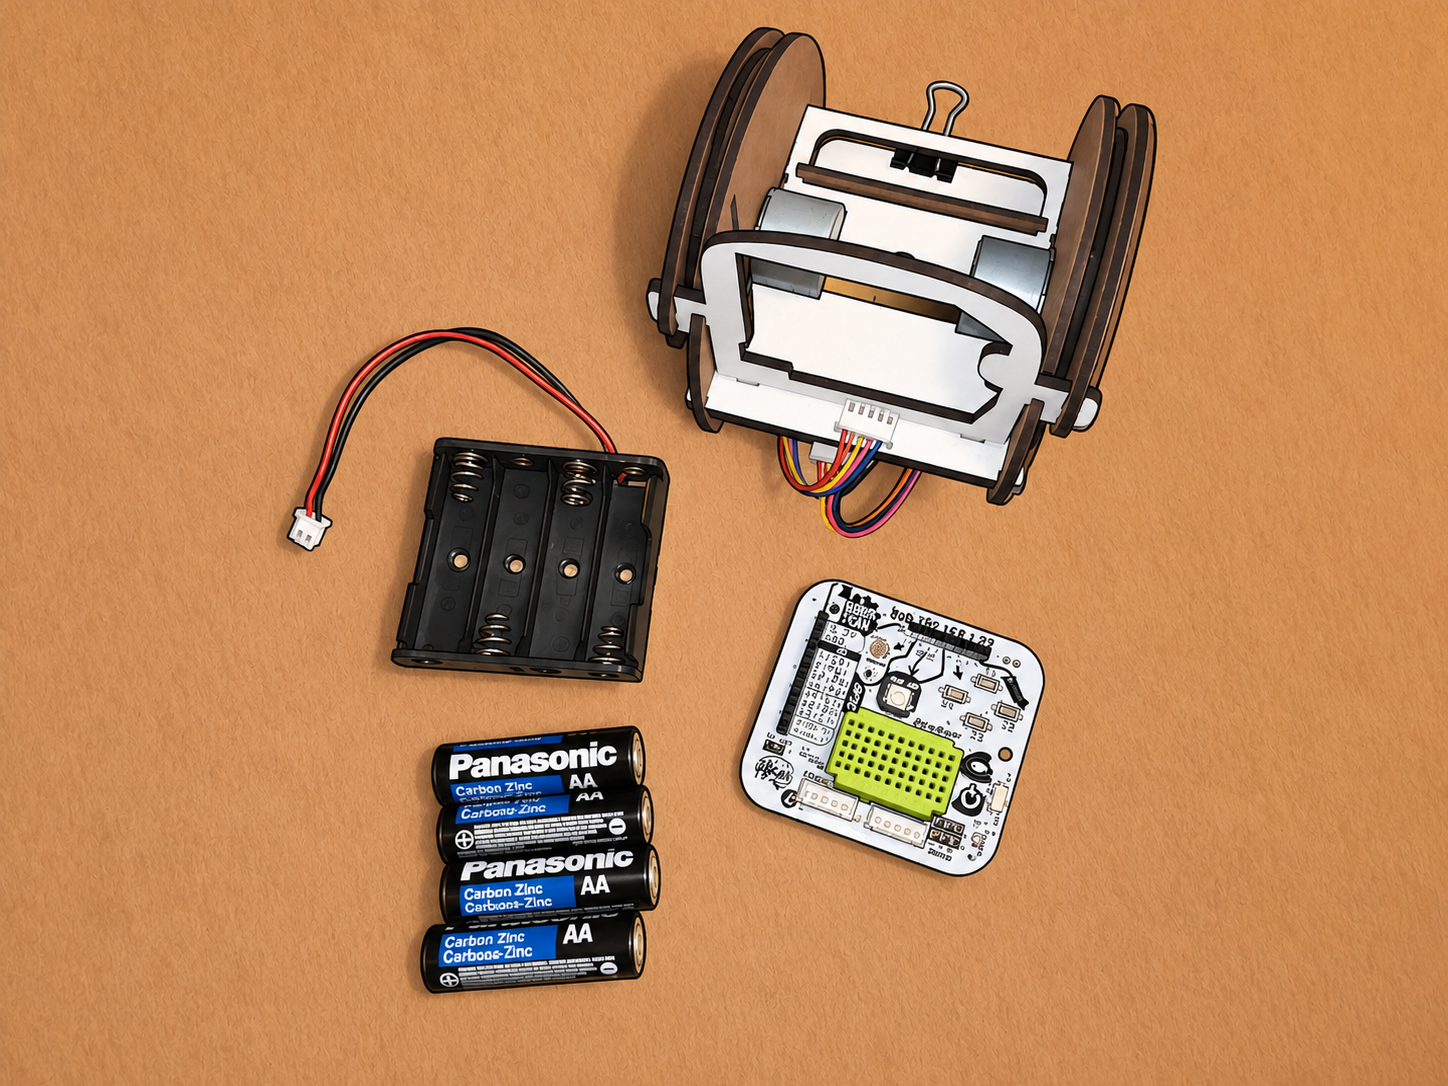
Find your robot body, eBrain, battery pack, four AA batteries, and motor cables. Check that you have everything before you begin.
- Step 2 of 6
Add the batteries
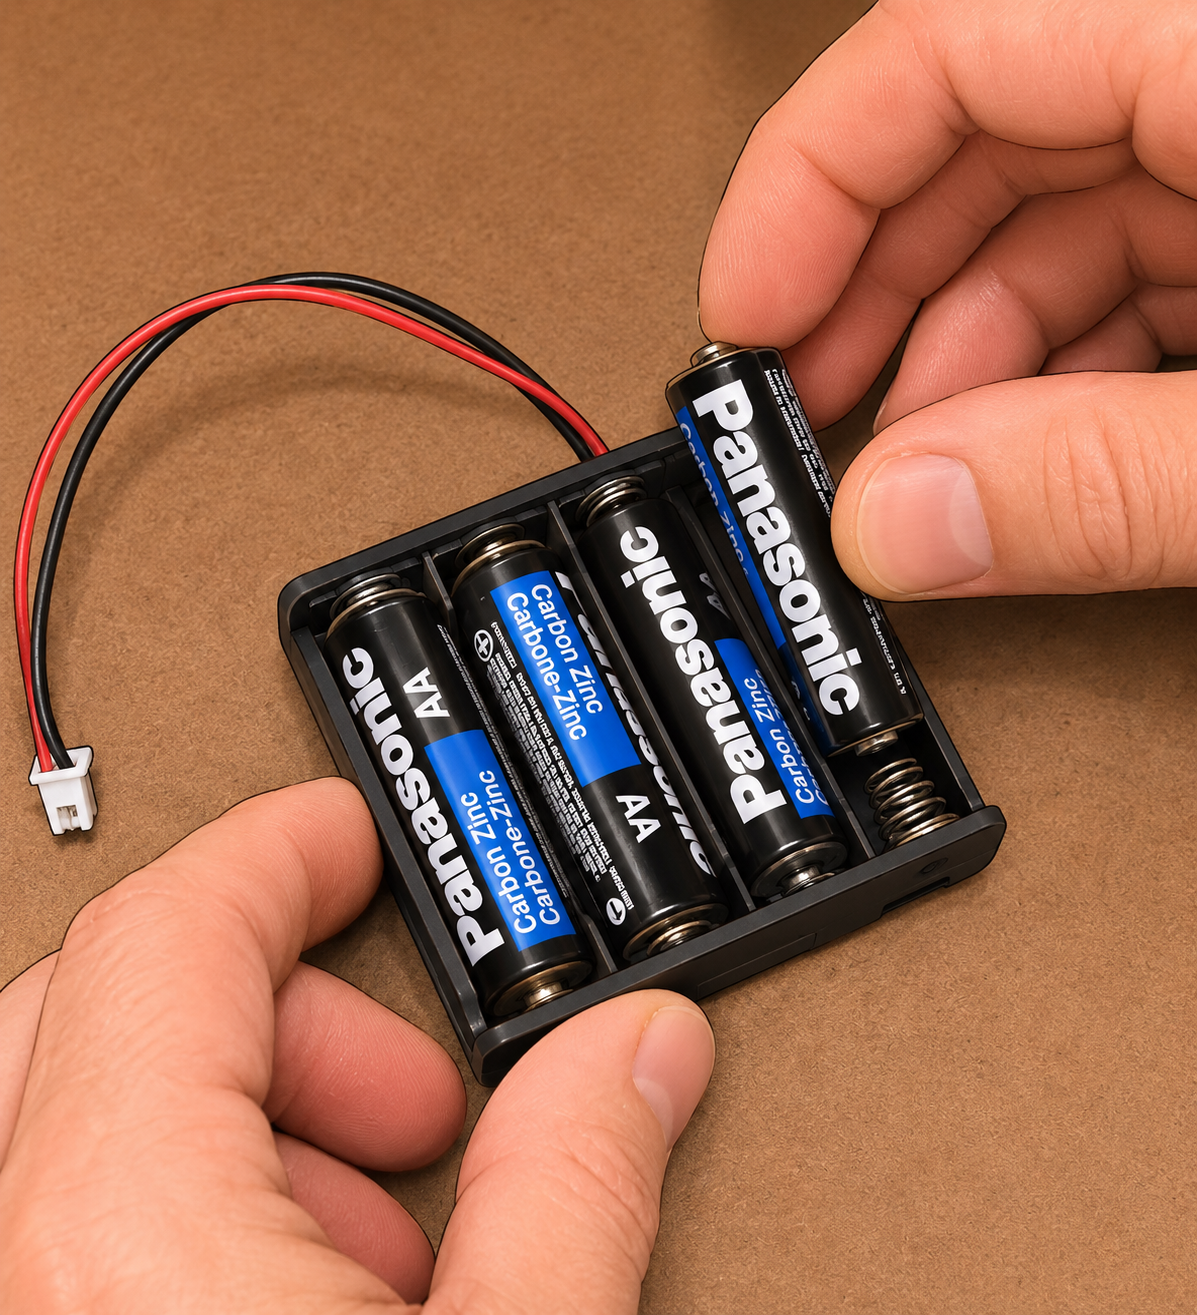
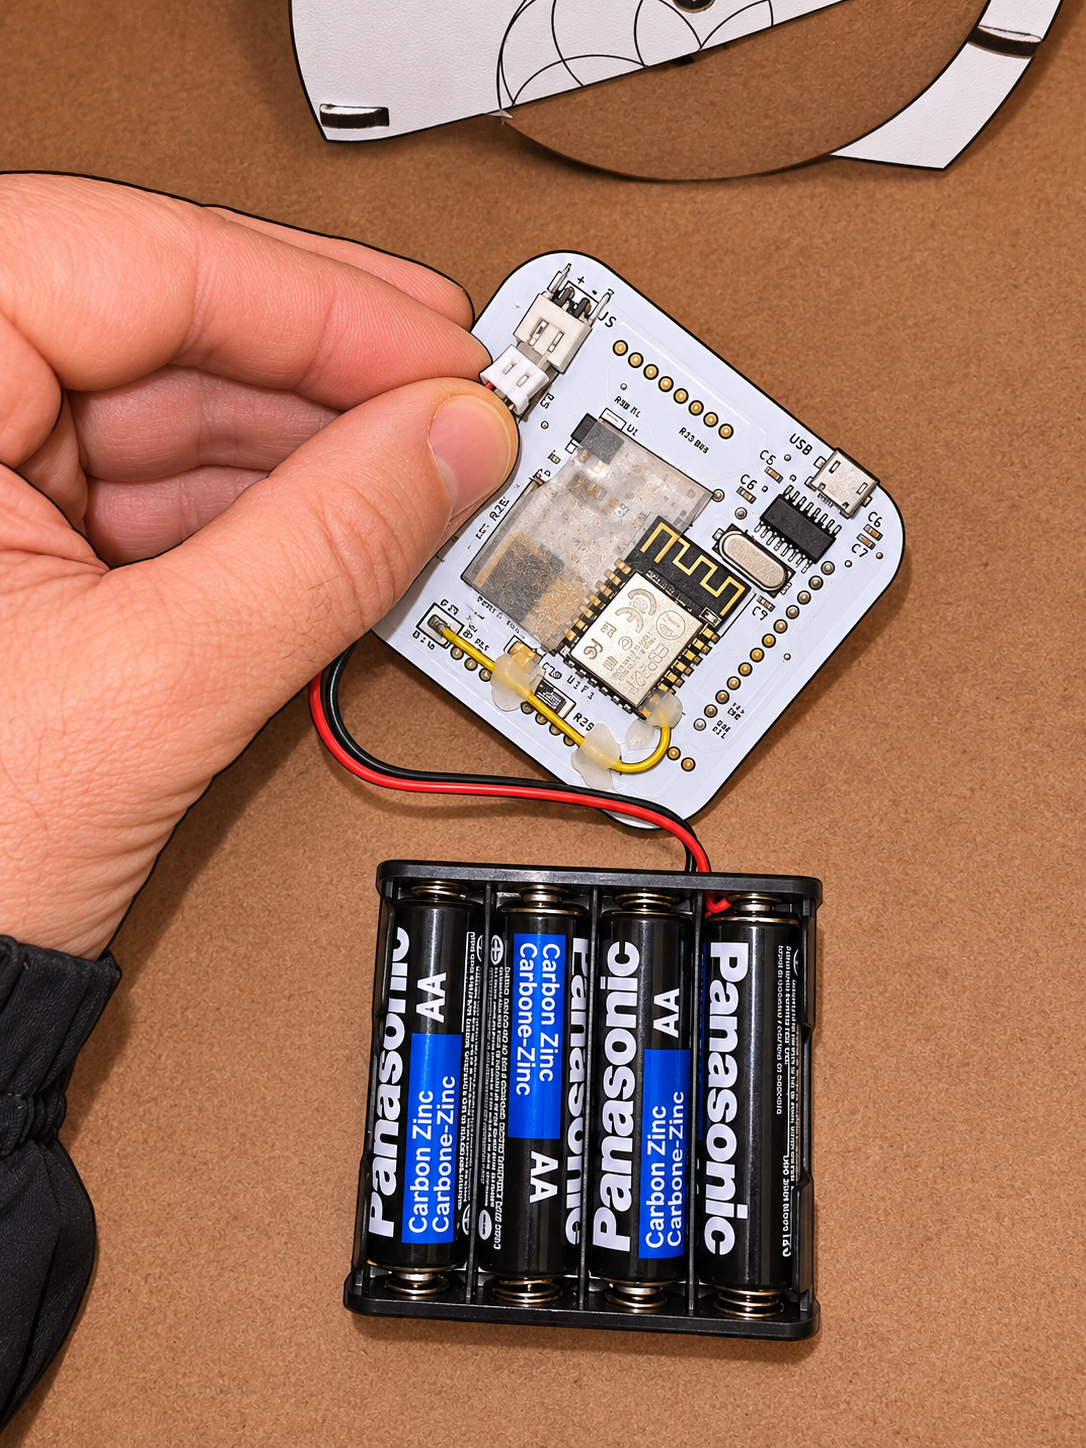
Put all four AA batteries into the battery pack. The minus (−) end goes against the spring. The plus (+) end goes against the flat metal contact. Follow the + and − marks on the holder.
- Step 3 of 6
Power up the eBrain
Plug the battery pack’s small connector into the power socket on the back of the eBrain. Look for the yellow power light! Yellow light on? Your eBrain has power.
- Step 4 of 6
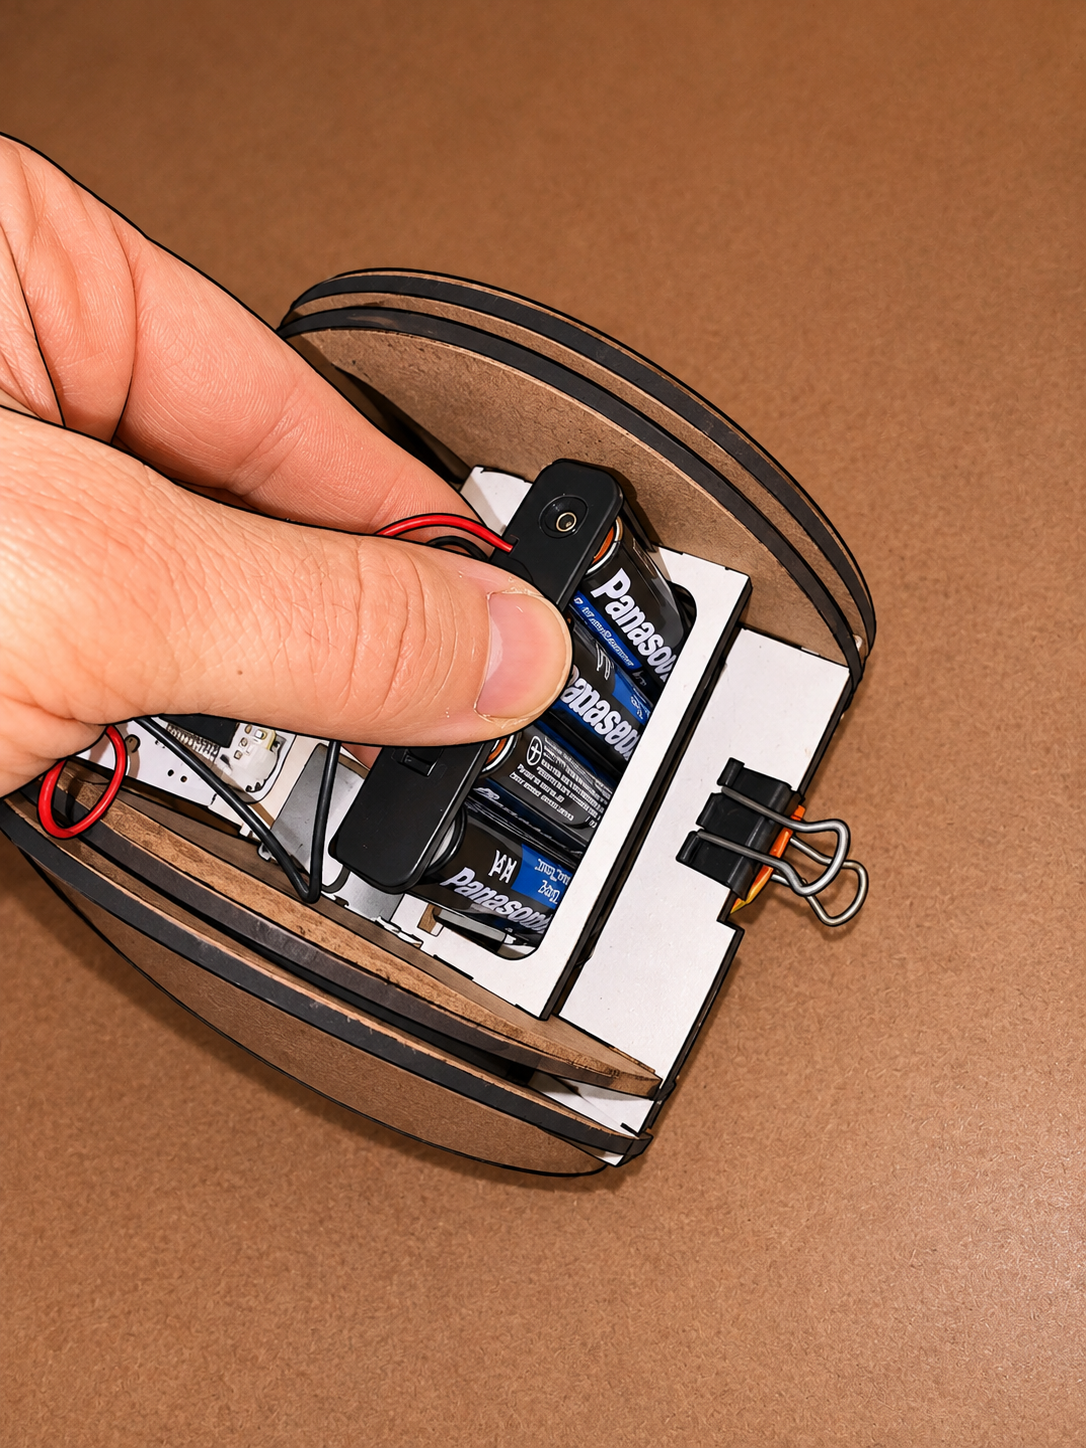
Put the battery pack in place
Slide the battery pack into the back of the robot body. Keep the wires out of the wheels.
- Step 5 of 6
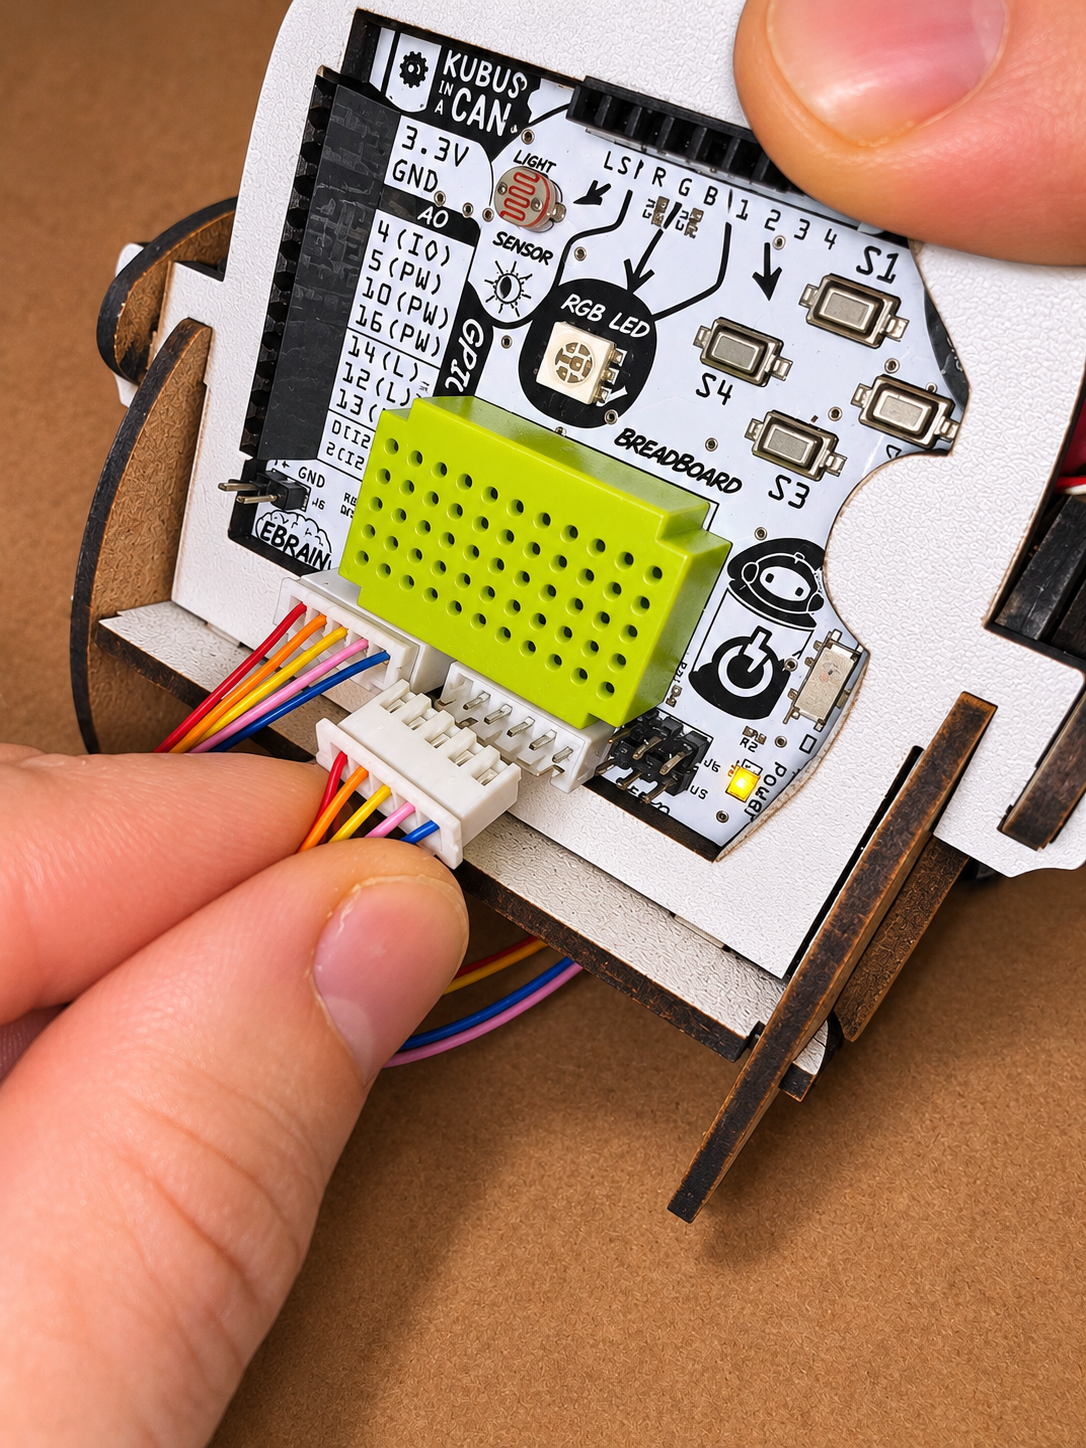
Connect the motors
Unplug the battery pack while you connect the motors. Place the eBrain at the front of the robot. Plug the left and right motor cables into their matching white JST motor connectors. Reconnect the battery pack. Use the connection dock from card 00, then open card 02 to try Robot Remote. Connected? Your robot is ready to move!
- Step 6 of 6
Press Connect USB
Find the little eBrain dock in the bottom-right corner. Click Connect USB.